
Freeflourish

Snacks

Gluten-Free Family-Friendly Mini Savory Cheese and Veggie Muffins

By Freeflourish Test KitchenReviewed by Freeflourish Editorial TeamPublished Apr 18, 2026 · Updated Jul 7, 2026
American-inspired 35 mins glutenfreefamilyfriendlykidfriendlyeasybakingappetizermaincoursefreezable

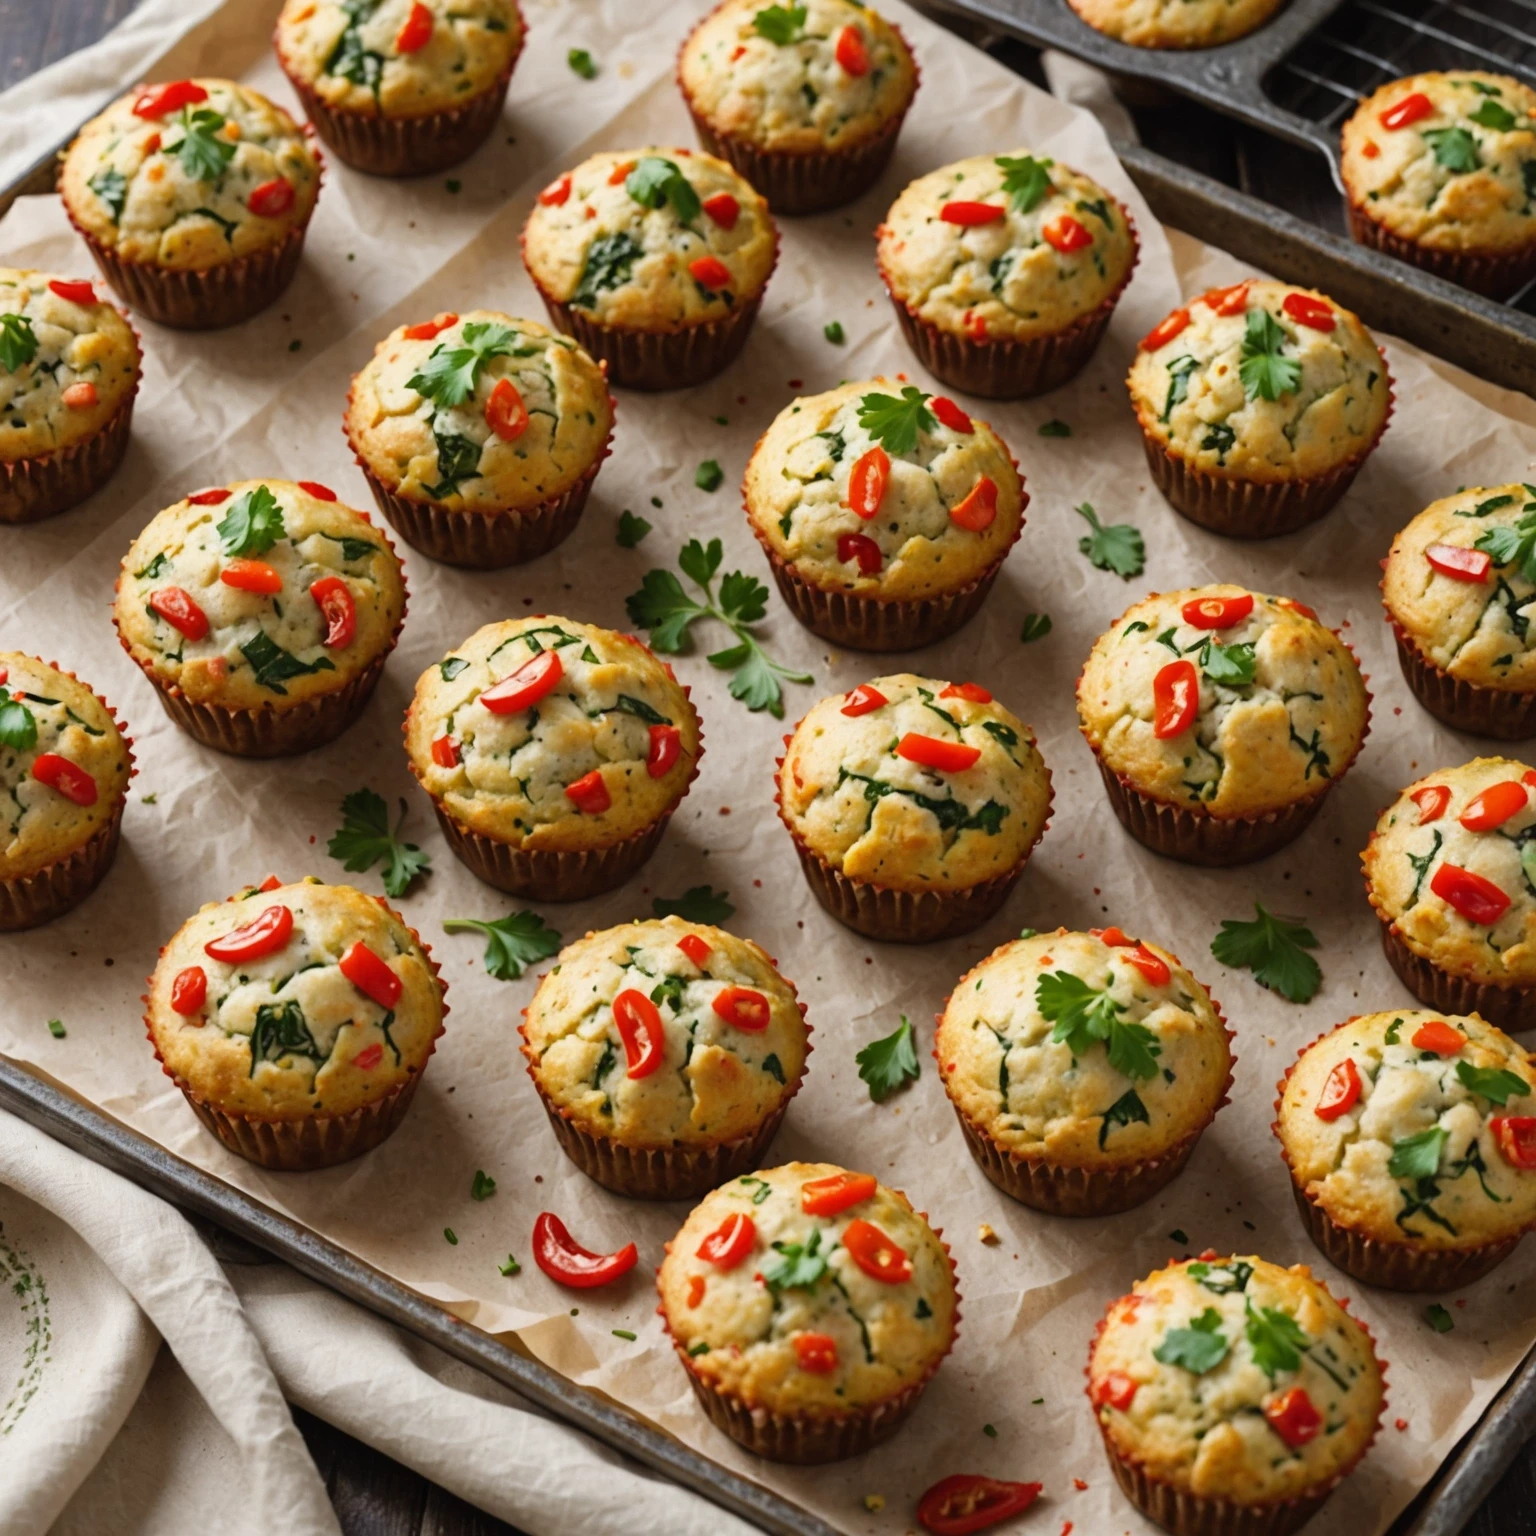
Enjoy these bite-sized gluten-free mini savory muffins filled with melted cheddar cheese and fresh vegetables. Perfect for family meals, kid-friendly snacks, or appetizers, these quick & easy muffins are freezer-friendly and a wholesome way to add veggies and protein to your day.

Gluten-Free Family-Friendly Mini Savory Cheese and Veggie Muffins
Prep 15 min
Cook 20 min
Total 35 min
Servings 24
Difficulty easy
Cuisine American-inspired

Recipe Details

Prep15 min
Cook20 min
Total35 min
Servings24
Difficultyeasy
CuisineAmerican-inspired
Add To Favorites

Ingredients

Servings 24
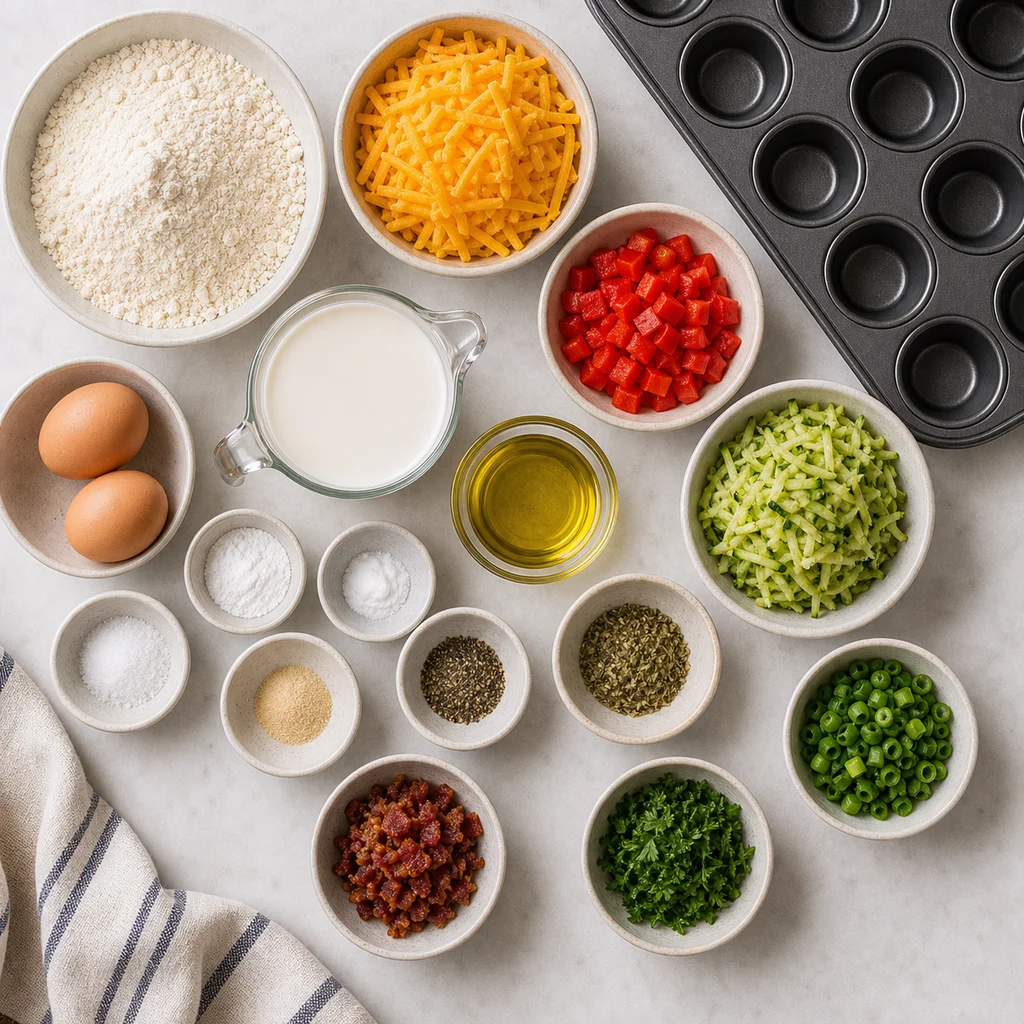
  • 2 cups gluten-free all-purpose flour blend (with xanthan gum included)
  • 1 tablespoon gluten-free baking powder
  • 1/2 teaspoon baking soda
  • 1/2 teaspoon salt
  • 1/4 teaspoon black pepper
  • 1 teaspoon dried oregano
  • 1/2 teaspoon garlic powder
  • 2 large eggs
  • 1 cup whole milk (or dairy-free milk substitute)
  • 1/3 cup olive oil
  • 1 cup shredded sharp cheddar cheese
  • 1/2 cup finely chopped red bell pepper
  • 1/2 cup finely chopped zucchini (squeezed of excess moisture)
  • 1/4 cup finely chopped green onions (including green tops)
  • 1/4 cup finely chopped fresh parsley
  • Optional
  • 1/4 cup cooked crumbled gluten-free bacon or vegan bacon bits (omit for vegetarian)
FreeFlourish gluten-free mini savory cheese and veggie muffins ingredients

Instructions

  1. Preheat your oven to 375 degrees F. Lightly grease a mini muffin tin with olive oil or non-stick spray.
  2. In a large mixing bowl, whisk together the gluten-free flour blend, gluten-free baking powder, baking soda, salt, black pepper, dried oregano, and garlic powder until well combined.
  3. In a separate medium bowl, beat the eggs, then mix in the milk and olive oil until smooth.
  4. Pour the wet ingredients into the dry ingredients and gently stir until just combined. Avoid overmixing to keep muffins tender.
  5. Fold in shredded cheddar cheese, chopped red bell pepper, zucchini, green onions, fresh parsley, and optional gluten-free bacon or vegan bacon bits until evenly distributed.
  6. Spoon the batter into the prepared mini muffin tin cavities, filling each about 3/4 full.
  7. Bake for 18-20 minutes or until the tops are golden and a toothpick inserted into the center comes out clean.
  8. Remove from the oven and allow muffins to cool in the pan for 5 minutes before transferring to a wire rack to cool completely.
  9. Serve warm or at room temperature as a snack, appetizer, or light meal perfect for kids and the whole family.
  10. To freeze, let muffins cool completely, then store airtight in freezer-safe containers or bags for up to 3 months. Reheat in a toaster oven or microwave before serving.
FreeFlourish mini savory cheese and veggie muffins finished dish

Tips

Allergen Overlap Note

Check every packaged ingredient for certified gluten-free status, especially spices, broths, sauces, seed products, and baking staples. Use clean prep surfaces, dedicated utensils, and fresh parchment or cookware when preparing mini savory cheese and veggie muffins for someone with celiac disease.

Texture Expectations

The mini muffins should be tender and lightly springy, with vegetables distributed through the crumb rather than sinking. Squeeze excess moisture from the zucchini and avoid overmixing the gluten-free batter.

Dining With Non-GF Family Note

Serve the muffins from a clearly gluten-free plate with clean tongs. If regular crackers or breads are on the snack table, keep them away from the mini muffin tray.

Frequently Asked Questions

Can I make Gluten-Free Family-Friendly Mini Savory Cheese and Veggie Muffins ahead?
Yes. Prepare the components ahead when practical, then store and reheat according to the storage guidance so the texture stays close to fresh.
How do I keep this recipe gluten-free?
Use certified gluten-free packaged ingredients and avoid shared utensils, boards, pans, or toppings that touched gluten-containing foods.
Can I adjust the main ingredients?
Yes. Use the ingredient replacement notes to choose swaps with similar moisture, protein, or cooking behavior.
What is the best way to serve it with mixed-diet family?
Serve the gluten-free recipe first with dedicated utensils, then keep any gluten-containing sides or toppings separate.

Ingredient Replacements

  • Optional: 1/4 cup cooked crumbled gluten-free bacon or vegan bacon bits: Use a certified gluten-free equivalent and choose a similar ingredient with matching moisture, texture, or cooking time. Check labels for shared-facility warnings when cooking for celiac disease or multiple allergies.
  • main vegetable: Use a certified gluten-free equivalent and choose a similar ingredient with matching moisture, texture, or cooking time. Check labels for shared-facility warnings when cooking for celiac disease or multiple allergies.
  • protein: Use a certified gluten-free equivalent and choose a similar ingredient with matching moisture, texture, or cooking time. Check labels for shared-facility warnings when cooking for celiac disease or multiple allergies.
  • seasoning: Use a certified gluten-free equivalent and choose a similar ingredient with matching moisture, texture, or cooking time. Check labels for shared-facility warnings when cooking for celiac disease or multiple allergies.
  • cooking fat: Use a certified gluten-free equivalent and choose a similar ingredient with matching moisture, texture, or cooking time. Check labels for shared-facility warnings when cooking for celiac disease or multiple allergies.

Storage and Reheating

Store cooled muffins airtight in the refrigerator for up to 4 days or freeze for up to 2 months. Reheat in a 300 degrees F oven until warm so the crumb stays tender.

Related Articles

Read related air fryer guides and cooking tips.

More Recipes

Explore more recipes you may like.

Reviews

Rate this recipe and share a photo of your result.

No reviews yet.

Newsletter

Stay In The Loop

Get fresh recipes, articles, and updates from Freeflourish.