Freeflourish

Gluten-Free Baking

Gluten-Free Savory Cheddar and Chive Popovers

By Freeflourish Test KitchenReviewed by Freeflourish Editorial TeamPublished Apr 7, 2026 · Updated Jun 30, 2026
American 40 mins glutenfreebakingfamilymealappetizerfreezablegrainfreekidfriendlyeasy

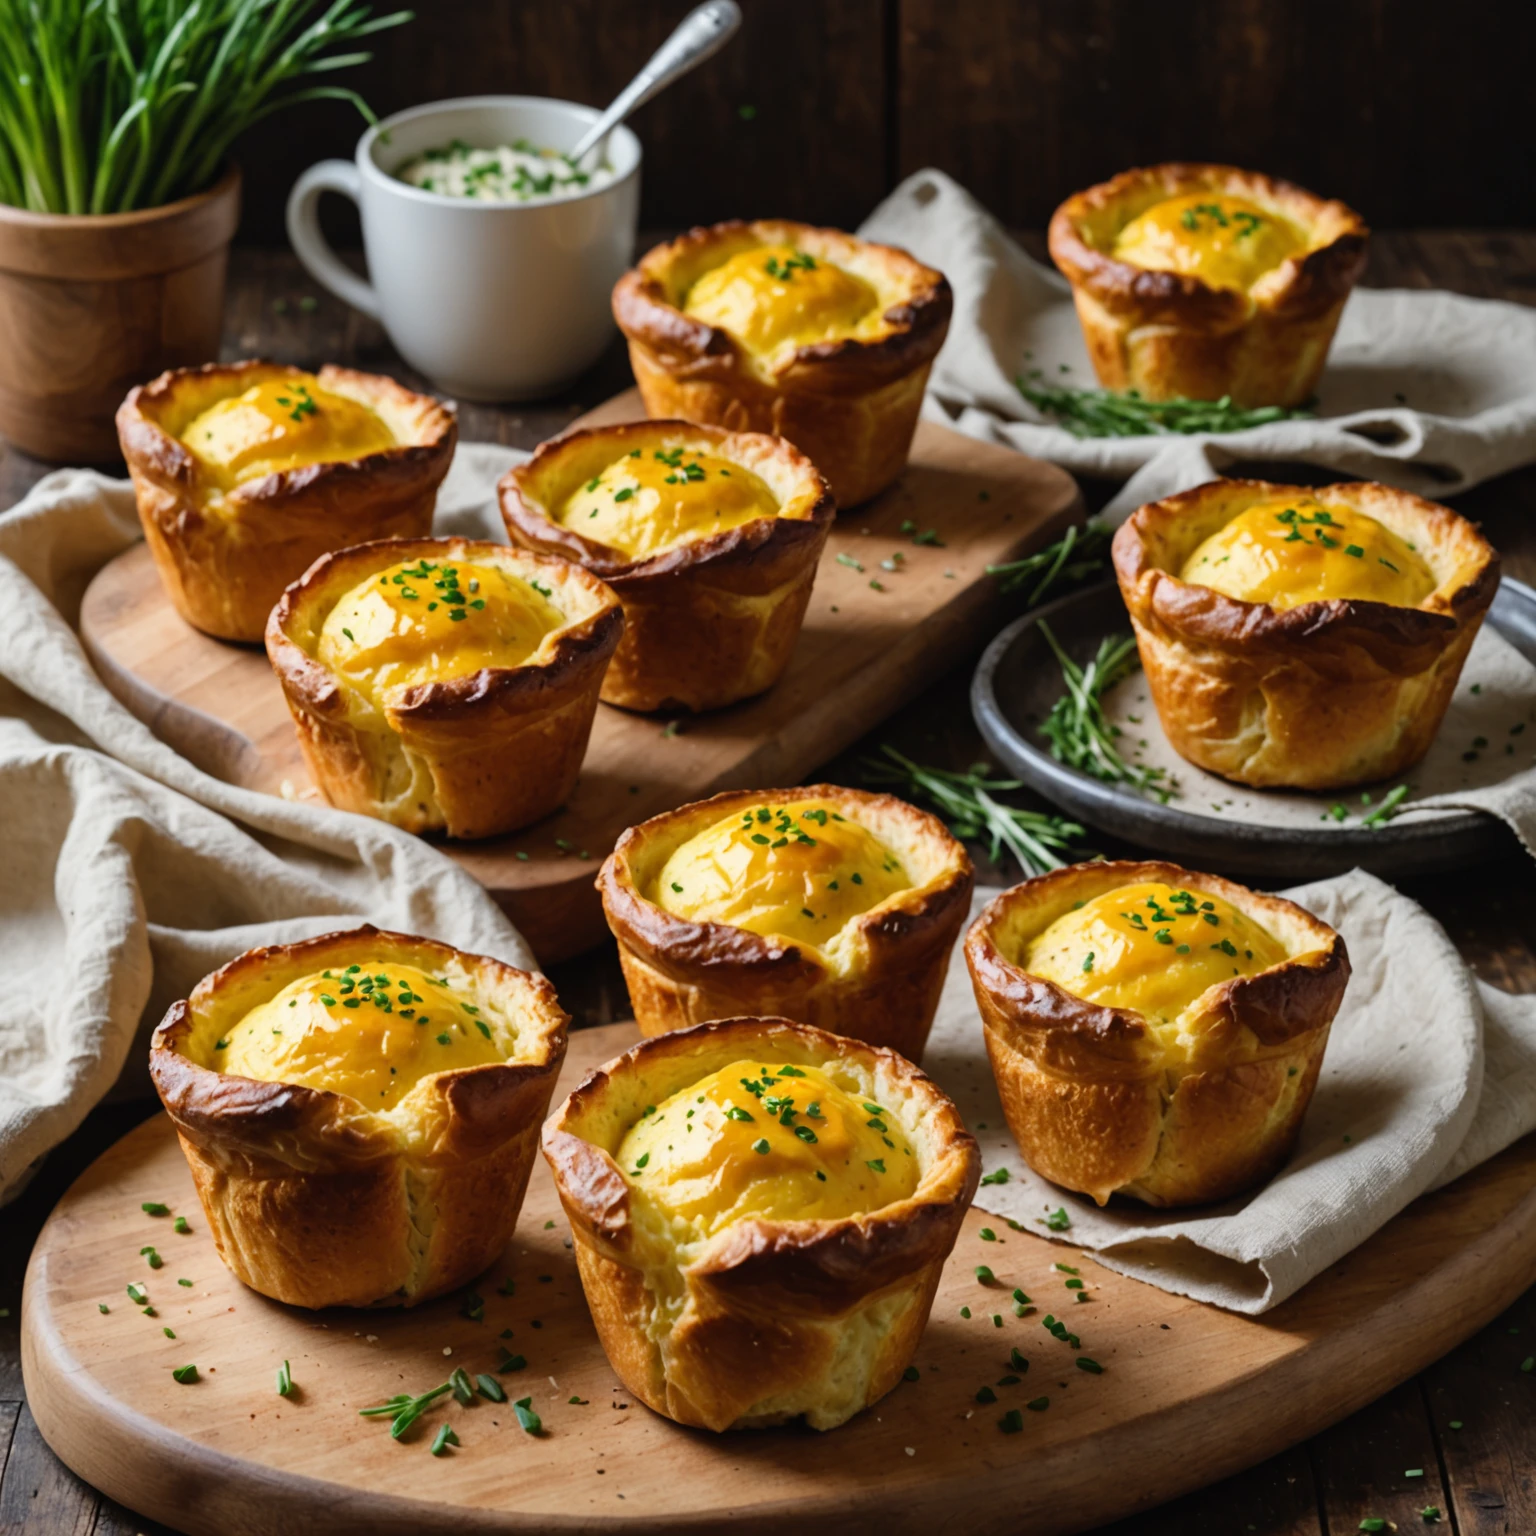
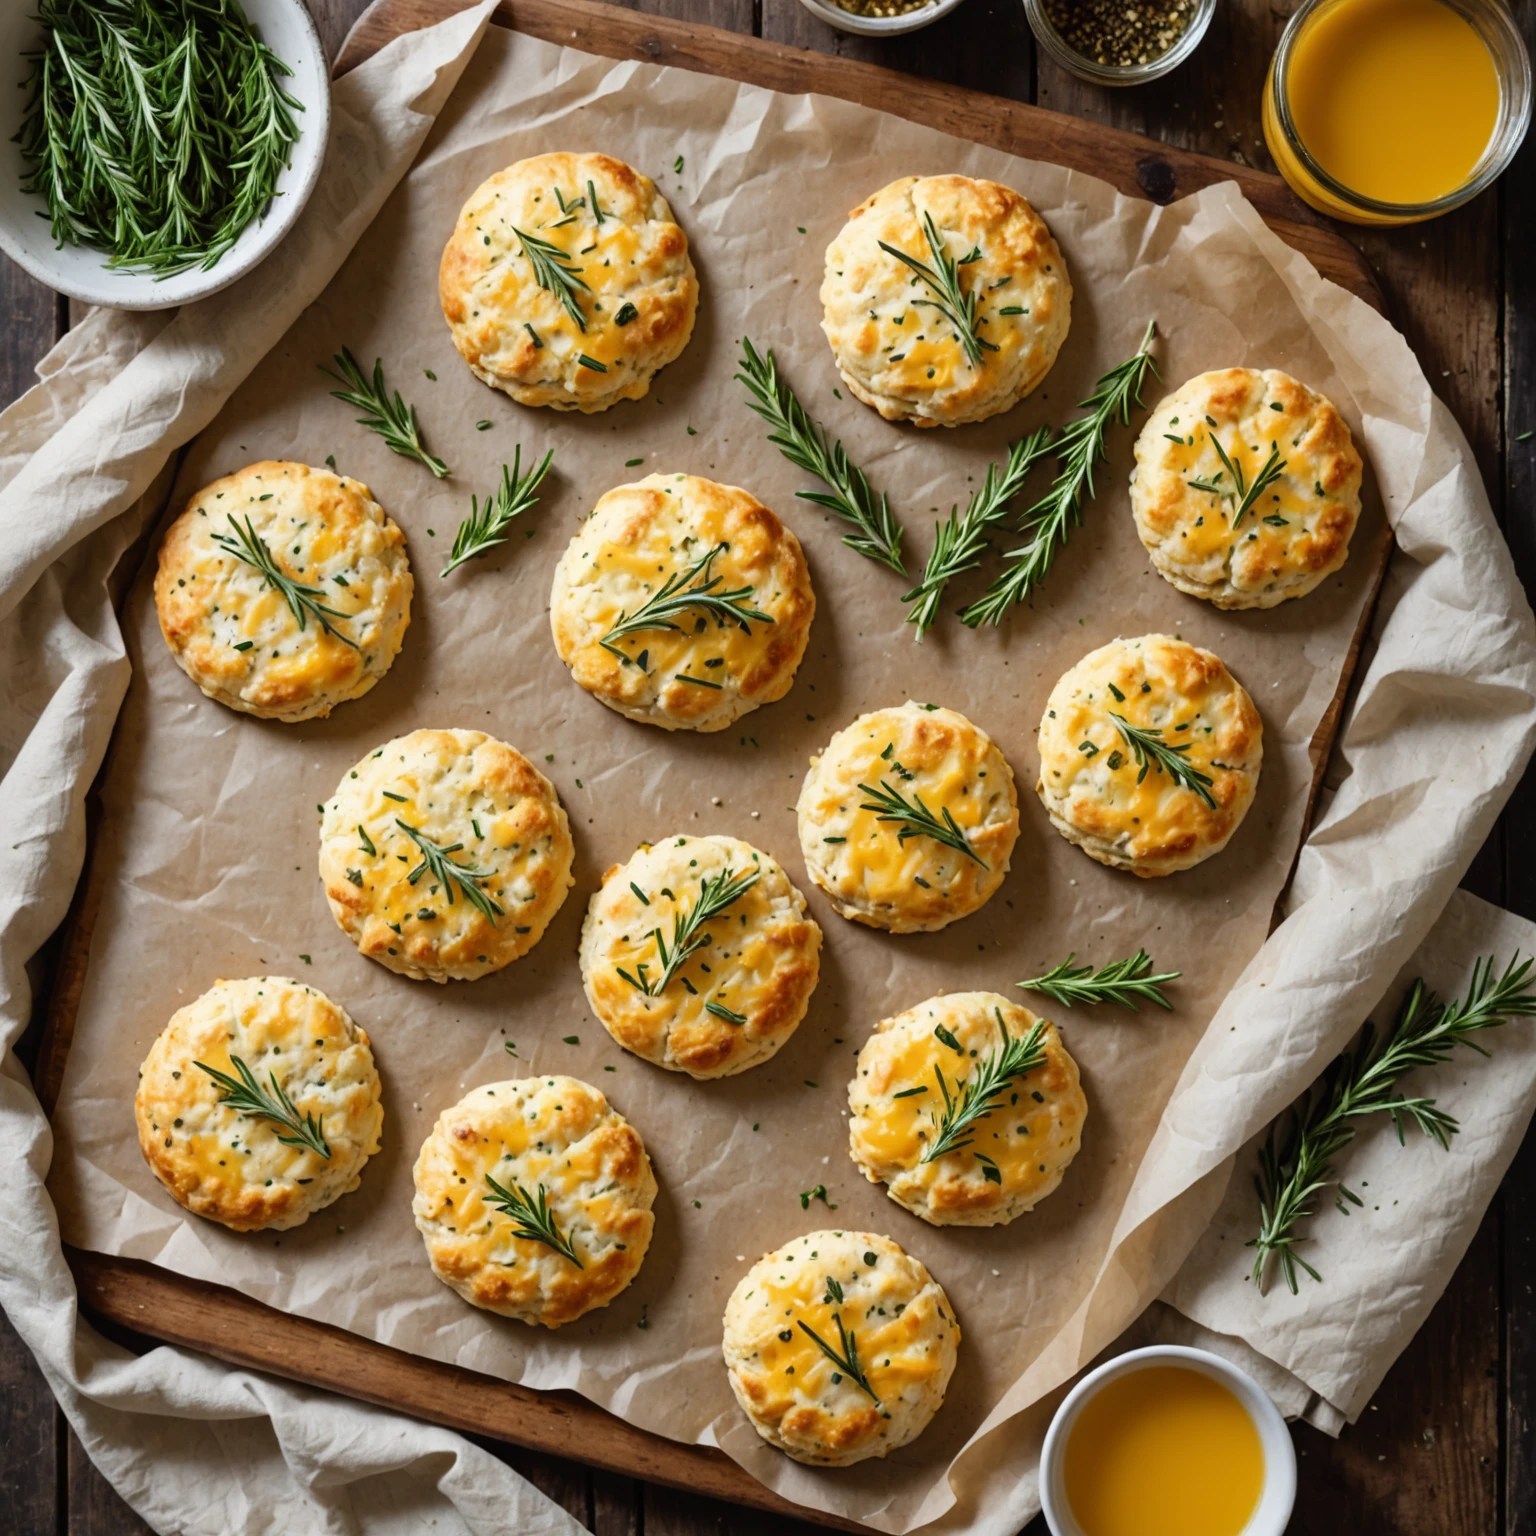
Discover a unique gluten-free and grain-free popover recipe loaded with sharp cheddar and fresh chives. These light and savory popovers are easy to prepare, kid-friendly, and perfect as an appetizer, snack, or side dish. They freeze well, making them a convenient option for family meals, quick & easy baking, and meal prep.

Gluten-Free Savory Cheddar and Chive Popovers
Prep 15 min
Cook 25 min
Total 40 min
Servings 6
Difficulty easy
Cuisine American

Recipe Details

Prep15 min
Cook25 min
Total40 min
Servings6
Difficultyeasy
CuisineAmerican
Add To Favorites

Ingredients

Servings 6
  • 1 cup almond flour (blanched, finely ground)
  • 1/2 cup tapioca starch
  • 1/4 cup coconut flour
  • 1 1/2 teaspoons baking powder (gluten-free)
  • 1/2 teaspoon xanthan gum
  • 1/2 teaspoon salt
  • 3 large eggs, room temperature
  • 1 cup whole milk or unsweetened dairy-free milk (such as almond or oat milk)
  • 2 tablespoons melted unsalted butter or dairy-free margarine
  • 1 cup sharp cheddar cheese, grated (use dairy-free cheddar for dairy-free option)
  • 2 tablespoons fresh chives, finely chopped
  • Optional
  • freshly ground black pepper, to taste
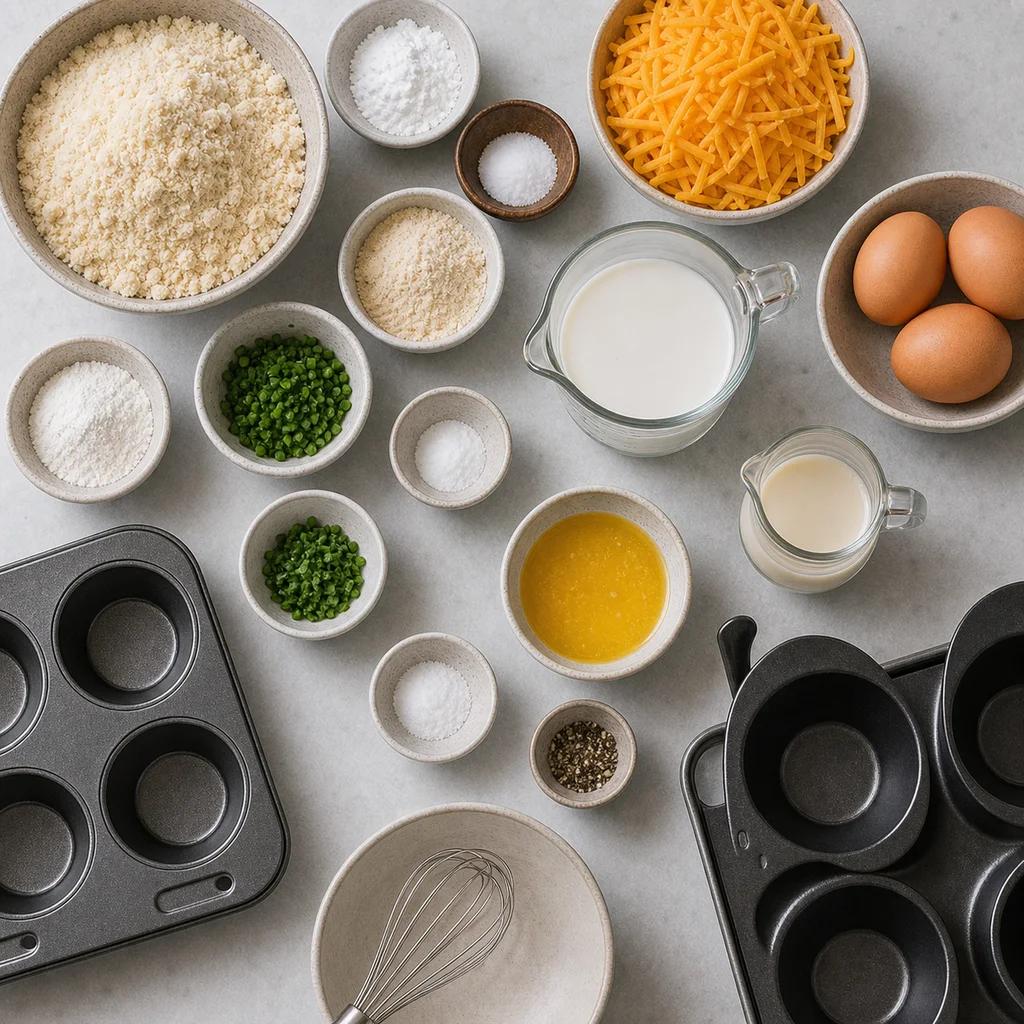
Measured gluten-free ingredients for FreeFlourish cheddar chive popovers

Instructions

  1. Preheat your oven to 425 degrees F (220 degrees C). Lightly grease a 6-cup popover pan or muffin tin with butter or oil.
  2. In a large mixing bowl, whisk together the almond flour, tapioca starch, coconut flour, baking powder, xanthan gum, and salt until well combined.
  3. In a separate bowl, beat the eggs lightly. Add the milk and melted butter, whisking until smooth.
  4. Pour the wet ingredients into the dry ingredients and stir gently until just combined. The batter will be slightly thick but should drop easily from a spoon.
  5. Fold in the grated cheddar cheese and chopped fresh chives, mixing until evenly distributed. Season with black pepper if desired.
  6. Divide the batter evenly among the 6 prepared cups, filling each about two-thirds full.
  7. Bake for 15 minutes at 425 degrees F (220 degrees C), then reduce the oven temperature to 350 degrees F (175 degrees C) and bake for another 10 minutes until golden brown, puffed, and set in the center.
  8. Remove the popovers from the oven and let them cool in the pan for 5 minutes before transferring to a wire rack to cool slightly.
  9. Serve warm as an appetizer, side dish, or snack.
  10. To freeze: Once completely cooled, wrap each popover tightly in plastic wrap and place them in an airtight container or freezer bag. Freeze up to 2 months. Reheat in a 350 degrees F (175 degrees C) oven for 10-12 minutes until warmed through and crisp.
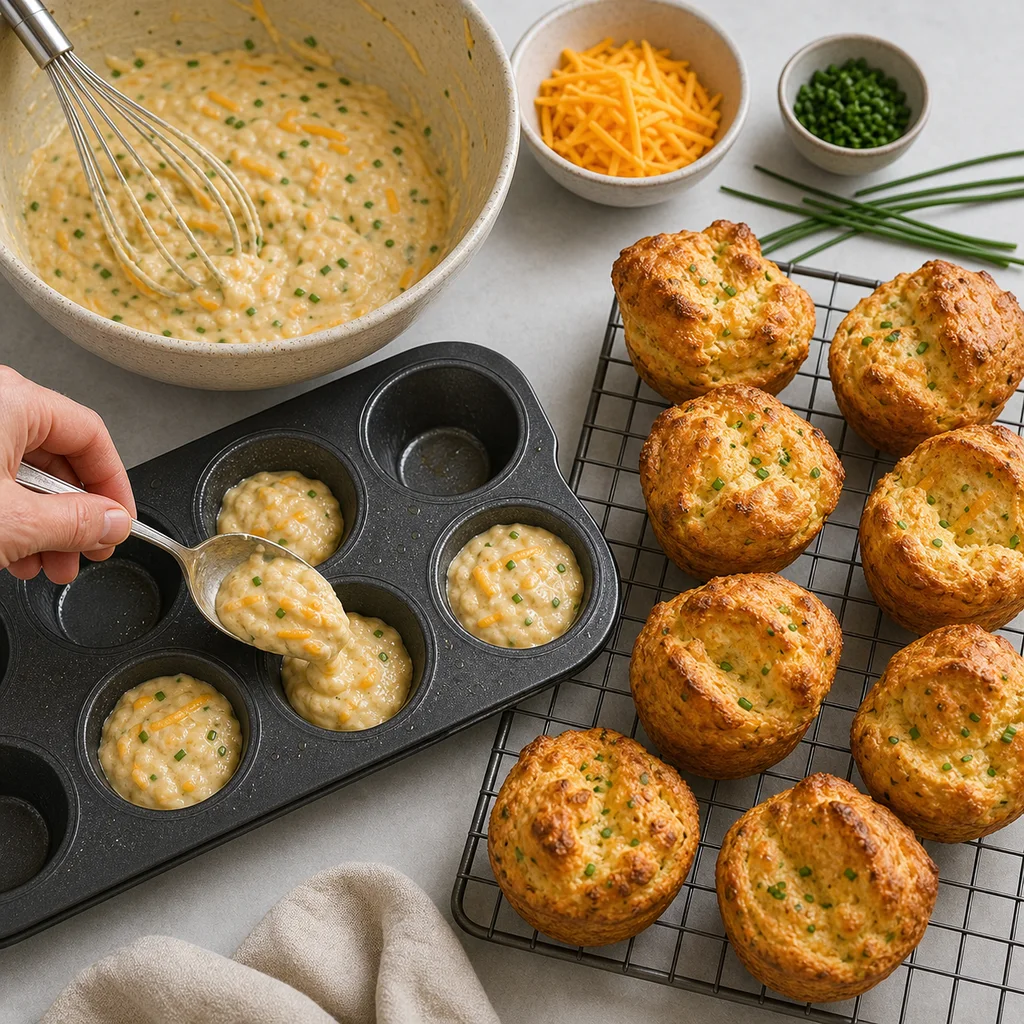
Cheddar chive gluten-free popover batter spooned into a popover pan

Tips

Allergen Overlap Note

These popovers are gluten-free but not nut-free because almond flour is part of the base recipe. Check almond flour, tapioca starch, coconut flour, baking powder, xanthan gum, cheese, and milk for gluten-free labeling, and use a clean popover pan or muffin tin that has not been dusted with wheat flour.

Texture Expectations

Expect a golden outside with a tender, slightly moist interior rather than the dramatic hollow center of wheat popovers. Room-temperature eggs and milk help the batter puff, while tapioca starch adds stretch and cheddar keeps the crumb savory and soft.

Dining With Non-GF Family Note

Bake the gluten-free popovers first and serve them with a dedicated plate, butter knife, and spread. If regular rolls or crackers are on the table, keep them away from the popovers so crumbs do not transfer onto the gluten-free batch.

Frequently Asked Questions

Why did my gluten-free popovers not rise much?
The eggs or milk may have been too cold, or the oven may not have been fully preheated. Use room-temperature wet ingredients and avoid opening the oven early.
Can I make these dairy-free?
Yes. Use unsweetened dairy-free milk, dairy-free margarine, and dairy-free cheddar-style shreds. The texture may be a little less rich but still savory.
Can I make these nut-free?
Use sunflower seed flour or pumpkin seed flour in place of almond flour. Expect a slightly different color, flavor, and rise.

Ingredient Replacements

This versatile gluten-free cheddar and chive popover recipe can be tailored to suit various dietary needs without sacrificing taste or texture:

  • Gluten-Free: Naturally gluten-free with almond, tapioca, and coconut flours. Use certified gluten-free baking powder for safety.
  • Dairy-Free: Swap whole milk for unsweetened almond, oat, or other plant-based milks. Replace butter with dairy-free margarine and use dairy-free cheddar-style shreds for a similar cheesy flavor.
  • Nut-Free: Substitute almond flour with sunflower seed or pumpkin seed flour to keep it nut-free while preserving a grain-free texture.
  • Vegetarian: Suitable as is, containing eggs and dairy.
  • Vegan: Replace eggs with flax eggs (1 tbsp ground flaxseed + 3 tbsp water per egg) or commercial vegan egg replacers. Use dairy-free milk and cheese alternatives. Note texture may vary slightly.
  • Low-Carb, Paleo, Whole30: Compatible with these diets when using almond and coconut flours; verify baking powder compliance or omit for a denser result.

These substitutions make Gluten-Free Savory Cheddar and Chive Popovers adaptable for family-friendly meals, easy appetizers, savory snacks, and gluten-free baking enjoyment.

Storage and Reheating

Store cooled popovers in an airtight container in the refrigerator for up to 4 days.

Freeze tightly wrapped popovers for up to 2 months. Reheat in a 350 degrees F oven for 10-12 minutes until warmed through and crisp at the edges.

Related Articles

Read related air fryer guides and cooking tips.

More Recipes

Explore more recipes you may like.

Reviews

Rate this recipe and share a photo of your result.

No reviews yet.

Newsletter

Stay In The Loop

Get fresh recipes, articles, and updates from Freeflourish.