
Breakfast
Freeflourish
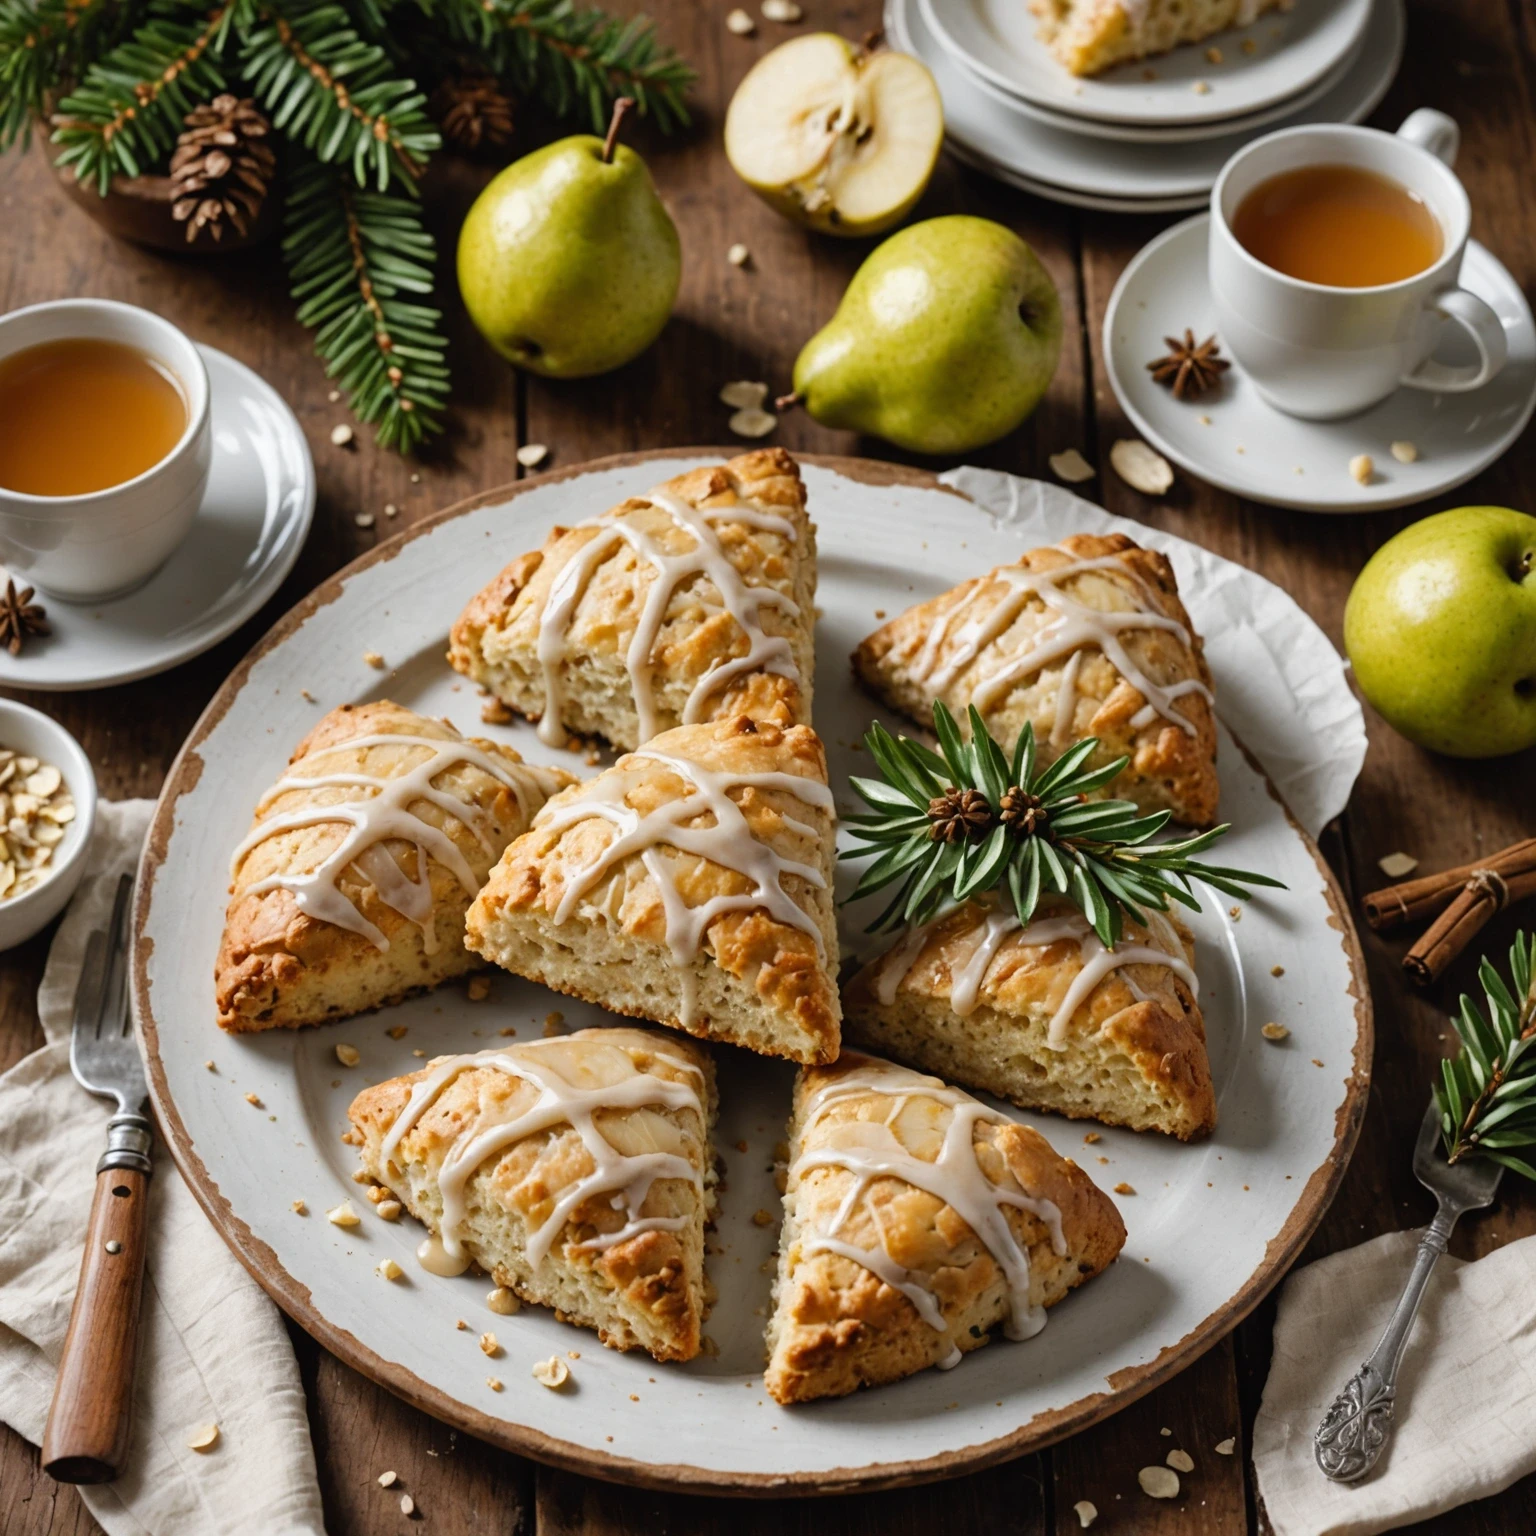
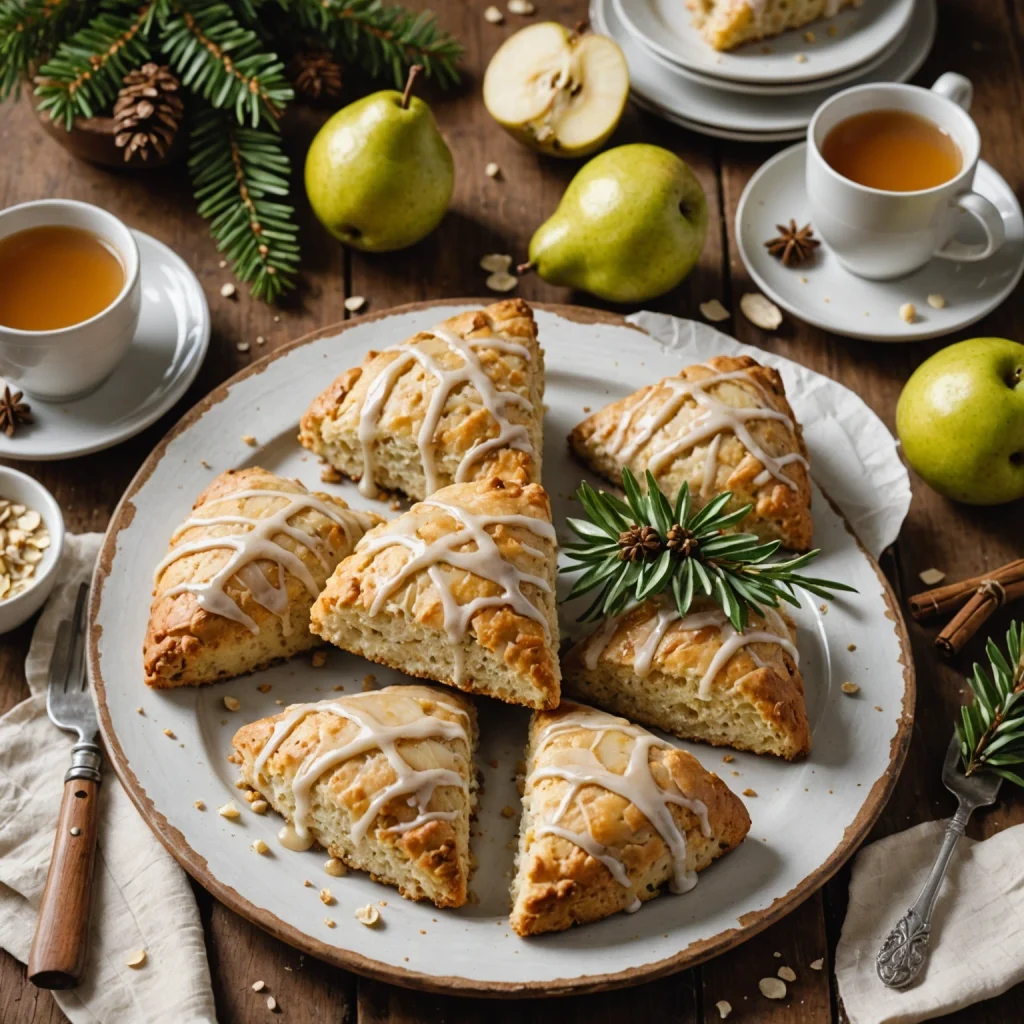
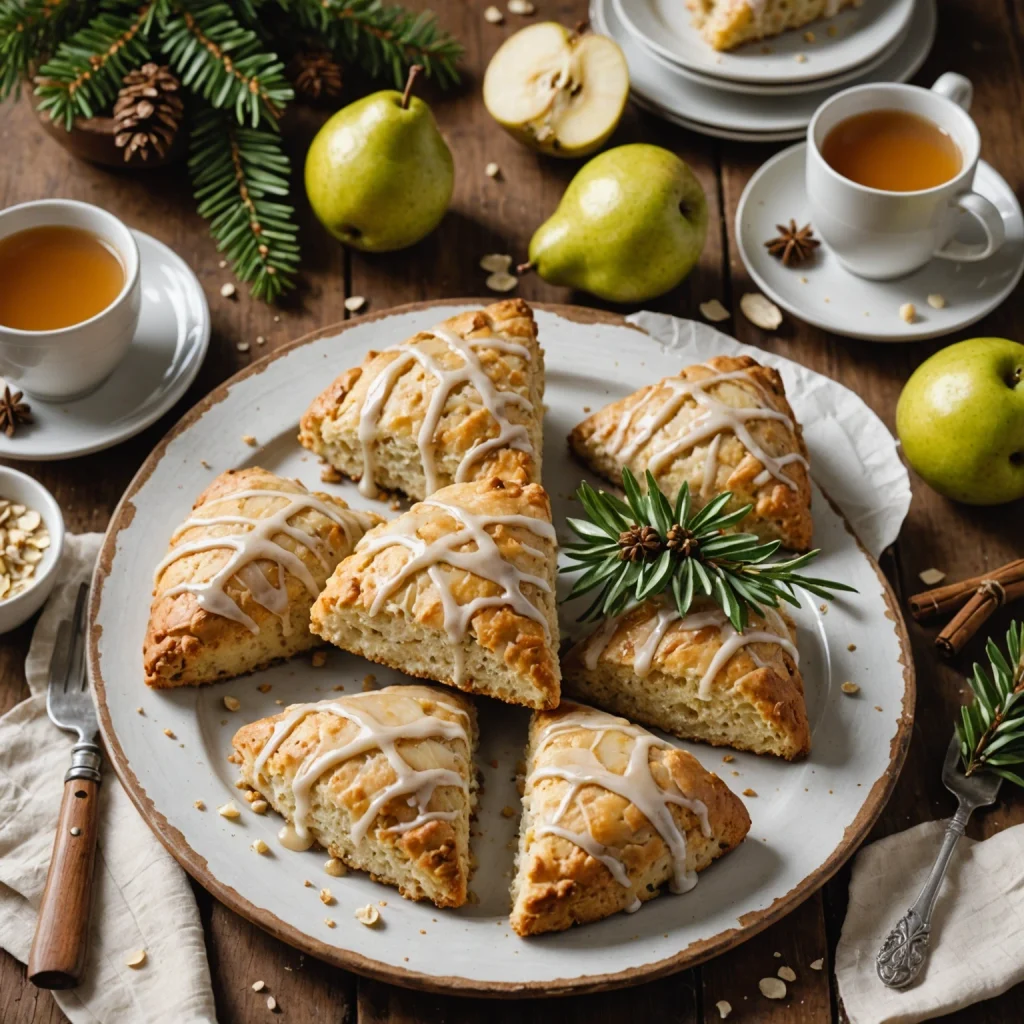
Gluten-Free Pear and Ginger Scones with Cardamom Glaze
Tender, moist gluten-free scones bursting with fresh pear and spicy ginger flavor, topped with a fragrant cardamom glaze. This holiday & seasonal dessert is easy, family-friendly, freezer-friendly, and perfect as a quick breakfast, snack, or festive treat.
Ingredients
- 2 cups gluten-free all-purpose flour blend (with xanthan gum included)
- 1/3 cup granulated sugar
- 1 tbsp baking powder
- 1/2 tsp baking soda
- 1/2 tsp salt
- 1 tsp ground ginger
- 1/2 tsp ground cinnamon
- 1/4 tsp ground nutmeg
- 6 tbsp cold unsalted butter (or dairy-free butter substitute), cut into small pieces
- 1 cup fresh pear, peeled and diced (about 1 medium pear)
- 1/2 cup crystallized ginger, chopped small
- 3/4 cup buttermilk (or dairy-free milk + 1 tbsp lemon juice), cold
- 1 large egg
- 1 tsp pure vanilla extract
- 1 cup powdered sugar, sifted
- 2 tbsp milk or dairy-free milk
- 1/4 tsp ground cardamom
- 1/2 tsp pure vanilla extract
Instructions
-
Preheat your oven to 400 degrees F and line a baking sheet with parchment paper.
-
In a large mixing bowl, whisk together the gluten-free flour blend, sugar, baking powder, baking soda, salt, ground ginger, cinnamon, and nutmeg until well combined.
-
Add the cold butter pieces to the flour mixture. Using a pastry cutter or your fingers, quickly cut the butter into the flour until the mixture resembles coarse crumbs with some pea-sized bits of butter remaining.
-
Gently fold the diced fresh pear and chopped crystallized ginger into the flour and butter mixture.
-
In a separate bowl, whisk together the cold buttermilk, egg, and vanilla extract until smooth.
-
Pour the wet ingredients into the dry ingredients and gently stir with a spatula until just combined. The dough will be slightly sticky but should hold together without excessive wetness. Avoid overmixing.
-
Turn the dough out onto a lightly floured surface (using gluten-free flour) and pat it into a roughly 8-inch circle about 1-inch thick.
-
Use a sharp knife or bench scraper to cut the dough into 8 equal wedges.
-
Carefully transfer the scones to the prepared baking sheet, spacing them about 2 inches apart.
-
Bake for 18-20 minutes or until golden brown around the edges and a toothpick inserted into the center comes out clean.
-
While the scones bake, prepare the cardamom glaze by whisking together the powdered sugar, milk, ground cardamom, and vanilla extract in a small bowl until smooth and pourable. Adjust consistency by adding a few drops more milk if needed.
-
Remove the scones from the oven and let cool on the baking sheet for 5 minutes before transferring to a wire rack.
-
Once slightly cooled but still warm, drizzle the cardamom glaze generously over the scones.
-
Allow the glaze to set for 10-15 minutes before serving.
-
To freeze: let scones cool completely, then wrap individually in plastic wrap and place in a freezer-safe container. Reheat in a 350 degrees F oven for 10-12 minutes directly from frozen.
Tips
Allergen Overlap Note
Check every packaged ingredient for certified gluten-free status, especially spices, broths, sauces, seed products, and baking staples. Use clean prep surfaces and dedicated utensils when preparing Gluten-Free Pear and Ginger Scones with Cardamom Glaze for someone with celiac disease.
Texture Expectations
Gluten-Free Pear and Ginger Scones with Cardamom Glaze should keep the intended servings texture when cooked and plated carefully.
Dining With Non-GF Family Note
Prepare and serve on a dedicated gluten-free surface first, then keep any shared side dishes separate with dedicated serving utensils.
Frequently Asked Questions
- Can I make Gluten-Free Pear and Ginger Scones with Cardamom Glaze ahead?
- Yes. Prepare components early, then store and reheat according to the storage guidance so the texture stays close to fresh.
- How do I keep this recipe gluten-free?
- Use certified gluten-free packaged ingredients and avoid shared utensils, boards, pans, or toppings that touched gluten-containing foods.
- Can I adjust the main ingredients?
- Yes. Swap ingredients with similar moisture, protein, or cooking behavior to keep timing and texture close to the original.
- How do I serve it with mixed-diet family?
- Serve the gluten-free recipe first and keep any gluten-containing toppings and sides separate.
Ingredient Replacements
- + 1 tbsp lemon juice): Use a certified gluten-free equivalent and choose a similar ingredient with matching moisture, texture, or cooking time. Check labels for shared-facility warnings when cooking for celiac disease or multiple allergies.
- main vegetable: Use a certified gluten-free equivalent and choose a similar ingredient with matching moisture, texture, or cooking time. Check labels for shared-facility warnings when cooking for celiac disease or multiple allergies.
- protein: Use a certified gluten-free equivalent and choose a similar ingredient with matching moisture, texture, or cooking time. Check labels for shared-facility warnings when cooking for celiac disease or multiple allergies.
- seasoning: Use a certified gluten-free equivalent and choose a similar ingredient with matching moisture, texture, or cooking time. Check labels for shared-facility warnings when cooking for celiac disease or multiple allergies.
- cooking fat: Use a certified gluten-free equivalent and choose a similar ingredient with matching moisture, texture, or cooking time. Check labels for shared-facility warnings when cooking for celiac disease or multiple allergies.
Storage and Reheating
Cool completely before covering. Refrigerate leftovers for up to 4 days, or freeze for later use. Reheat slowly to keep texture closer to fresh.
Related Articles
Read related air fryer guides and cooking tips.
More Recipes
Explore more recipes you may like.
Reviews
Rate this recipe and share a photo of your result.
No reviews yet.
Save this recipe
Log in to keep this recipe in your favorites.
Reset password Register