Freeflourish

Breakfast

Gluten-Free High-Protein Chickpea and Quinoa Breakfast Bars

By Freeflourish Test KitchenReviewed by Freeflourish Editorial TeamPublished Apr 14, 2026 · Updated Jul 6, 2026
American-inspired 40 mins glutenfreehighproteinfamilymealkidfriendlyeasyquickrecipesbreakfastsnackfreezablebudgetfriendly

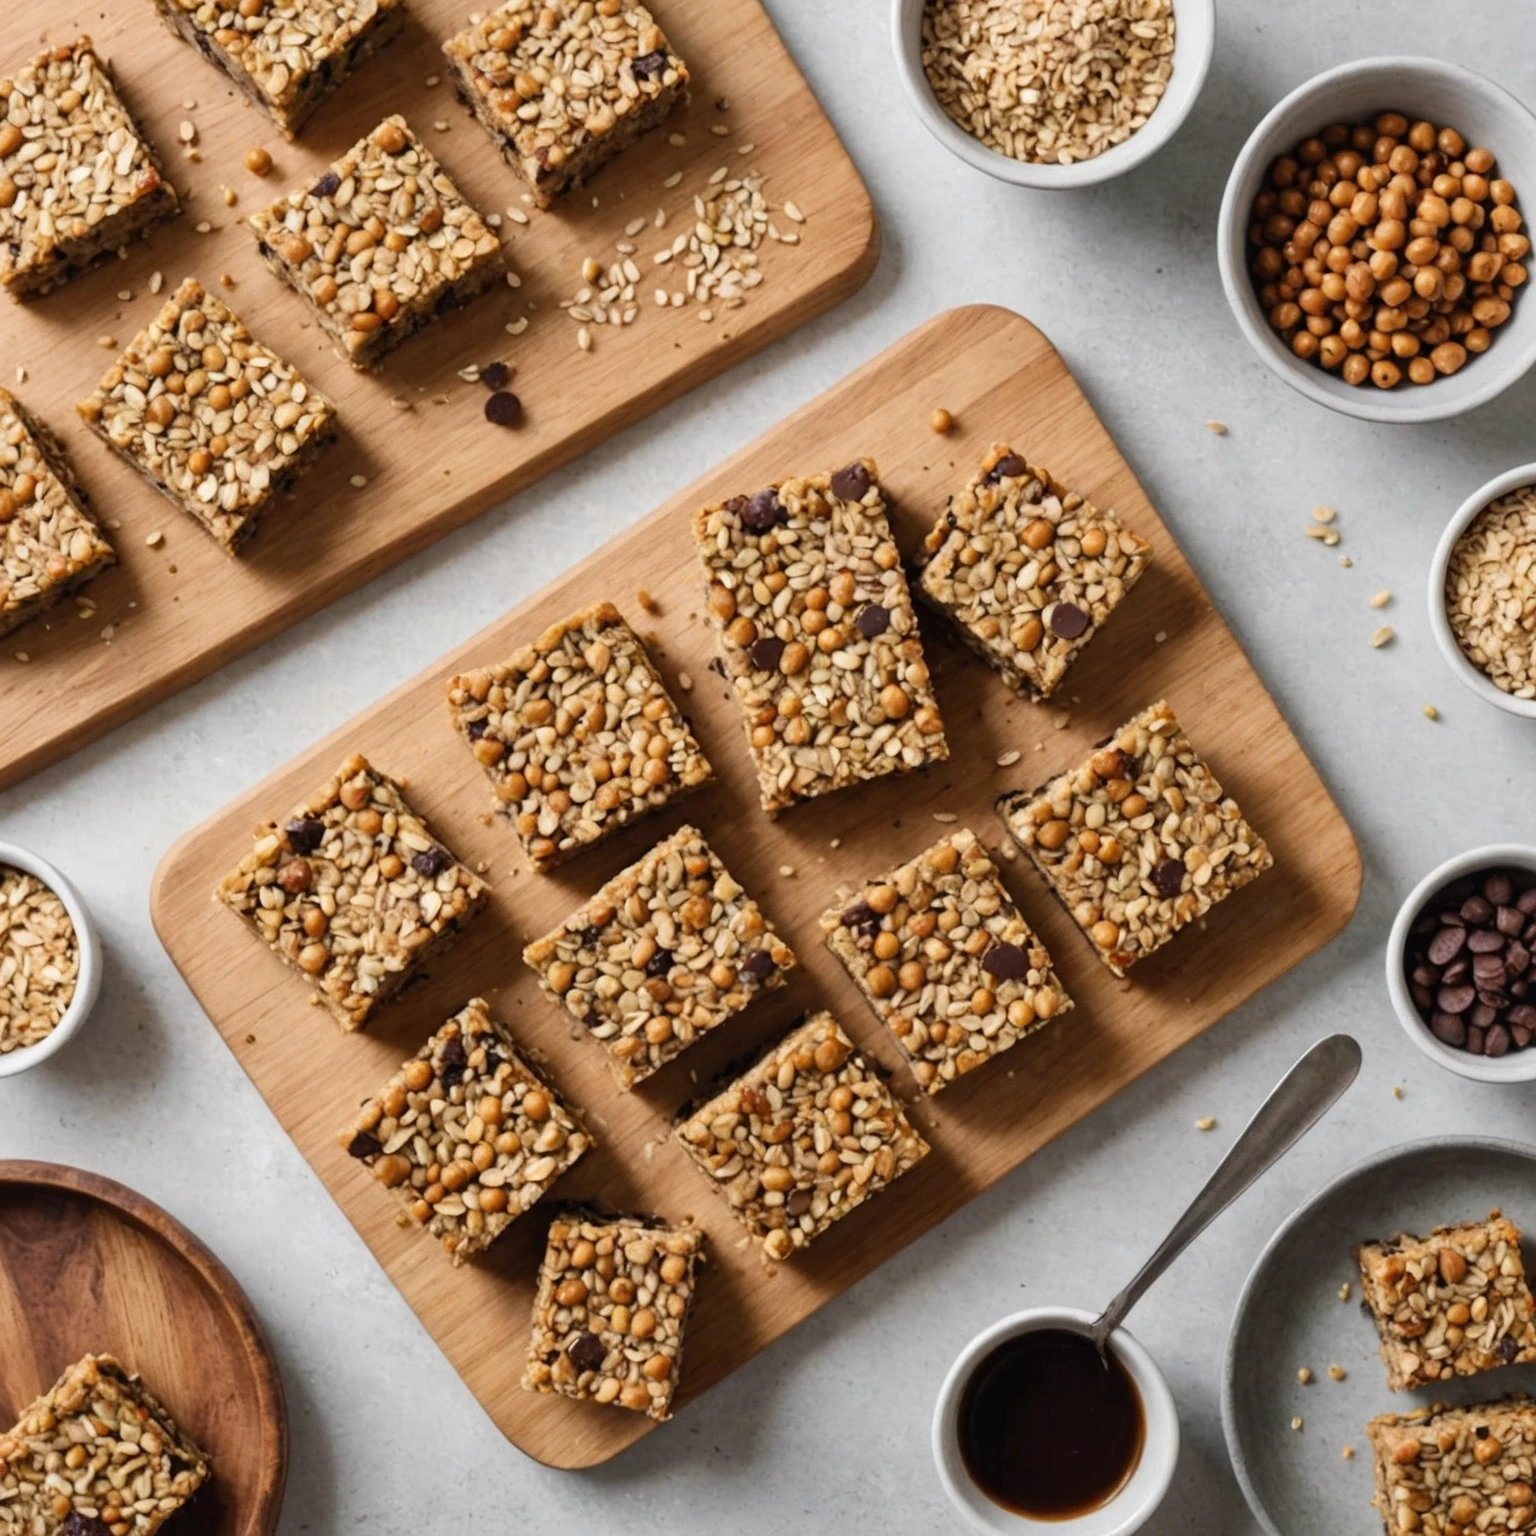
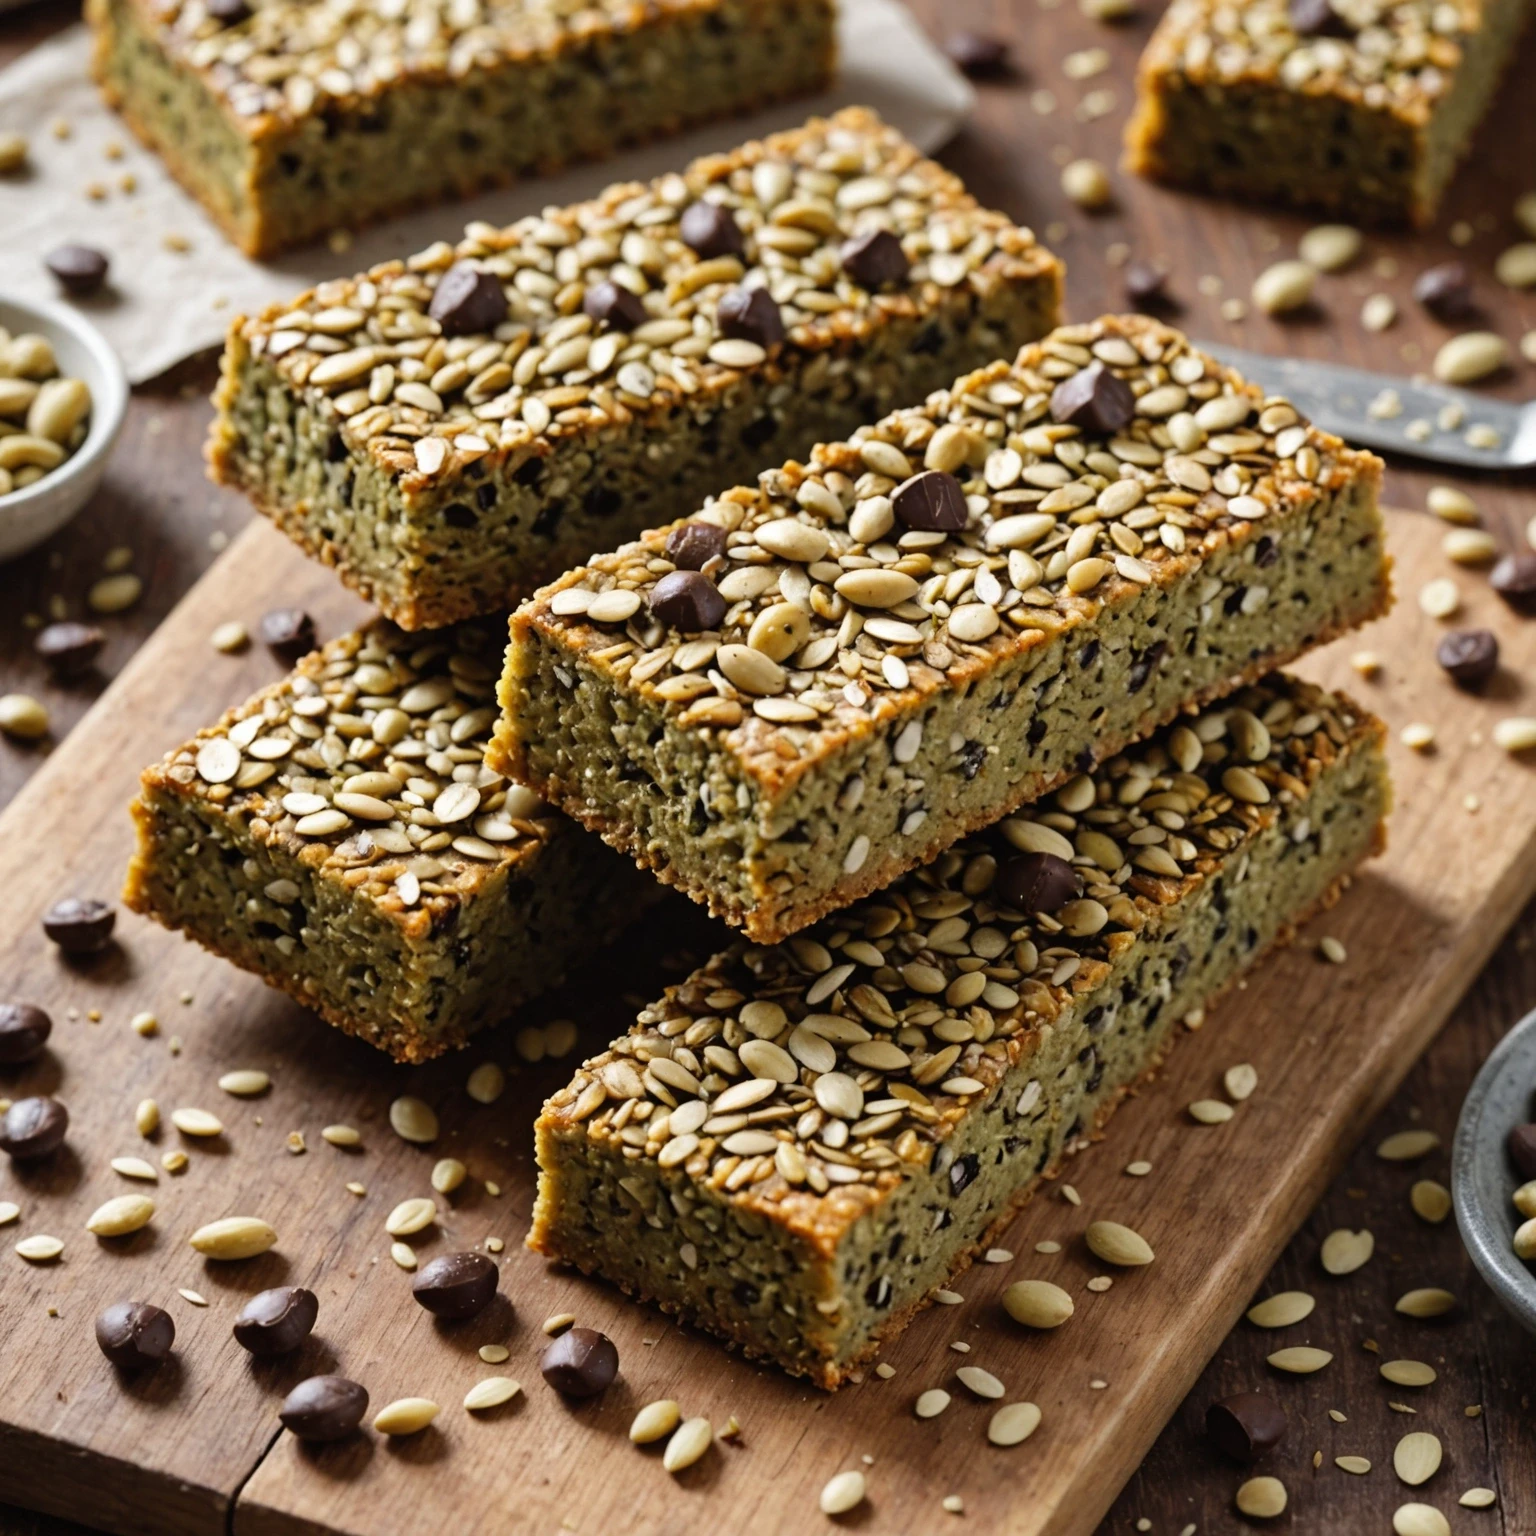
Enjoy these gluten-free breakfast bars packed with protein-rich chickpeas and quinoa. Kid-friendly, freezable, and quick to prepare, they are ideal for busy mornings, snacks, or family-friendly meal prep.

Gluten-Free High-Protein Chickpea and Quinoa Breakfast Bars
Prep 15 min
Cook 25 min
Total 40 min
Servings 12
Difficulty easy
Cuisine American-inspired

Recipe Details

Prep15 min
Cook25 min
Total40 min
Servings12
Difficultyeasy
CuisineAmerican-inspired
Add To Favorites

Ingredients

Servings 12
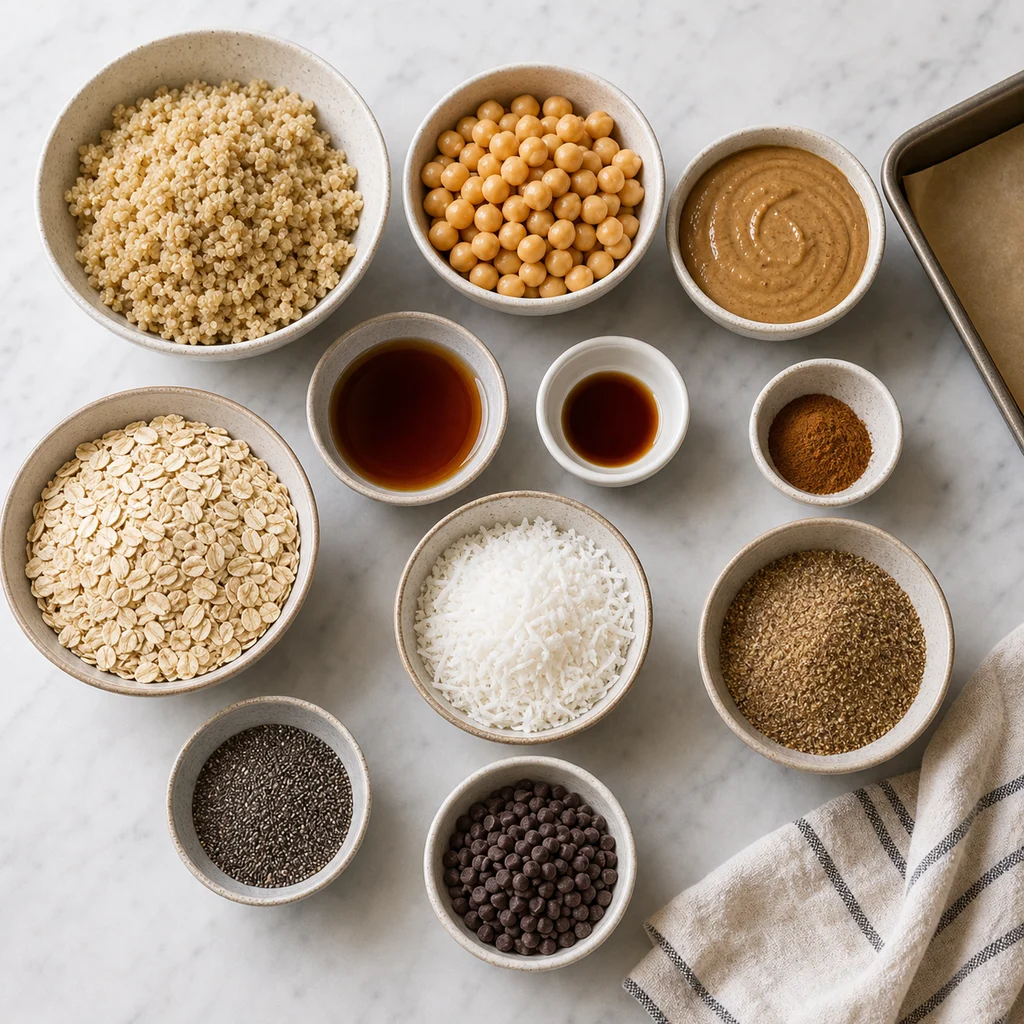
  • 1 cup cooked quinoa, cooled
  • 1 cup canned chickpeas, rinsed and drained
  • 1/2 cup almond butter (or sunflower seed butter for nut-free option)
  • 1/4 cup pure maple syrup
  • 1 teaspoon vanilla extract
  • 1/2 teaspoon ground cinnamon
  • 1/4 teaspoon salt
  • 1/4 cup gluten-free rolled oats
  • 1/4 cup shredded unsweetened coconut
  • 3 tablespoons ground flaxseed
  • 1/4 cup mini dairy-free chocolate chips (optional)
  • 2 tablespoons chia seeds (optional for extra protein and texture)
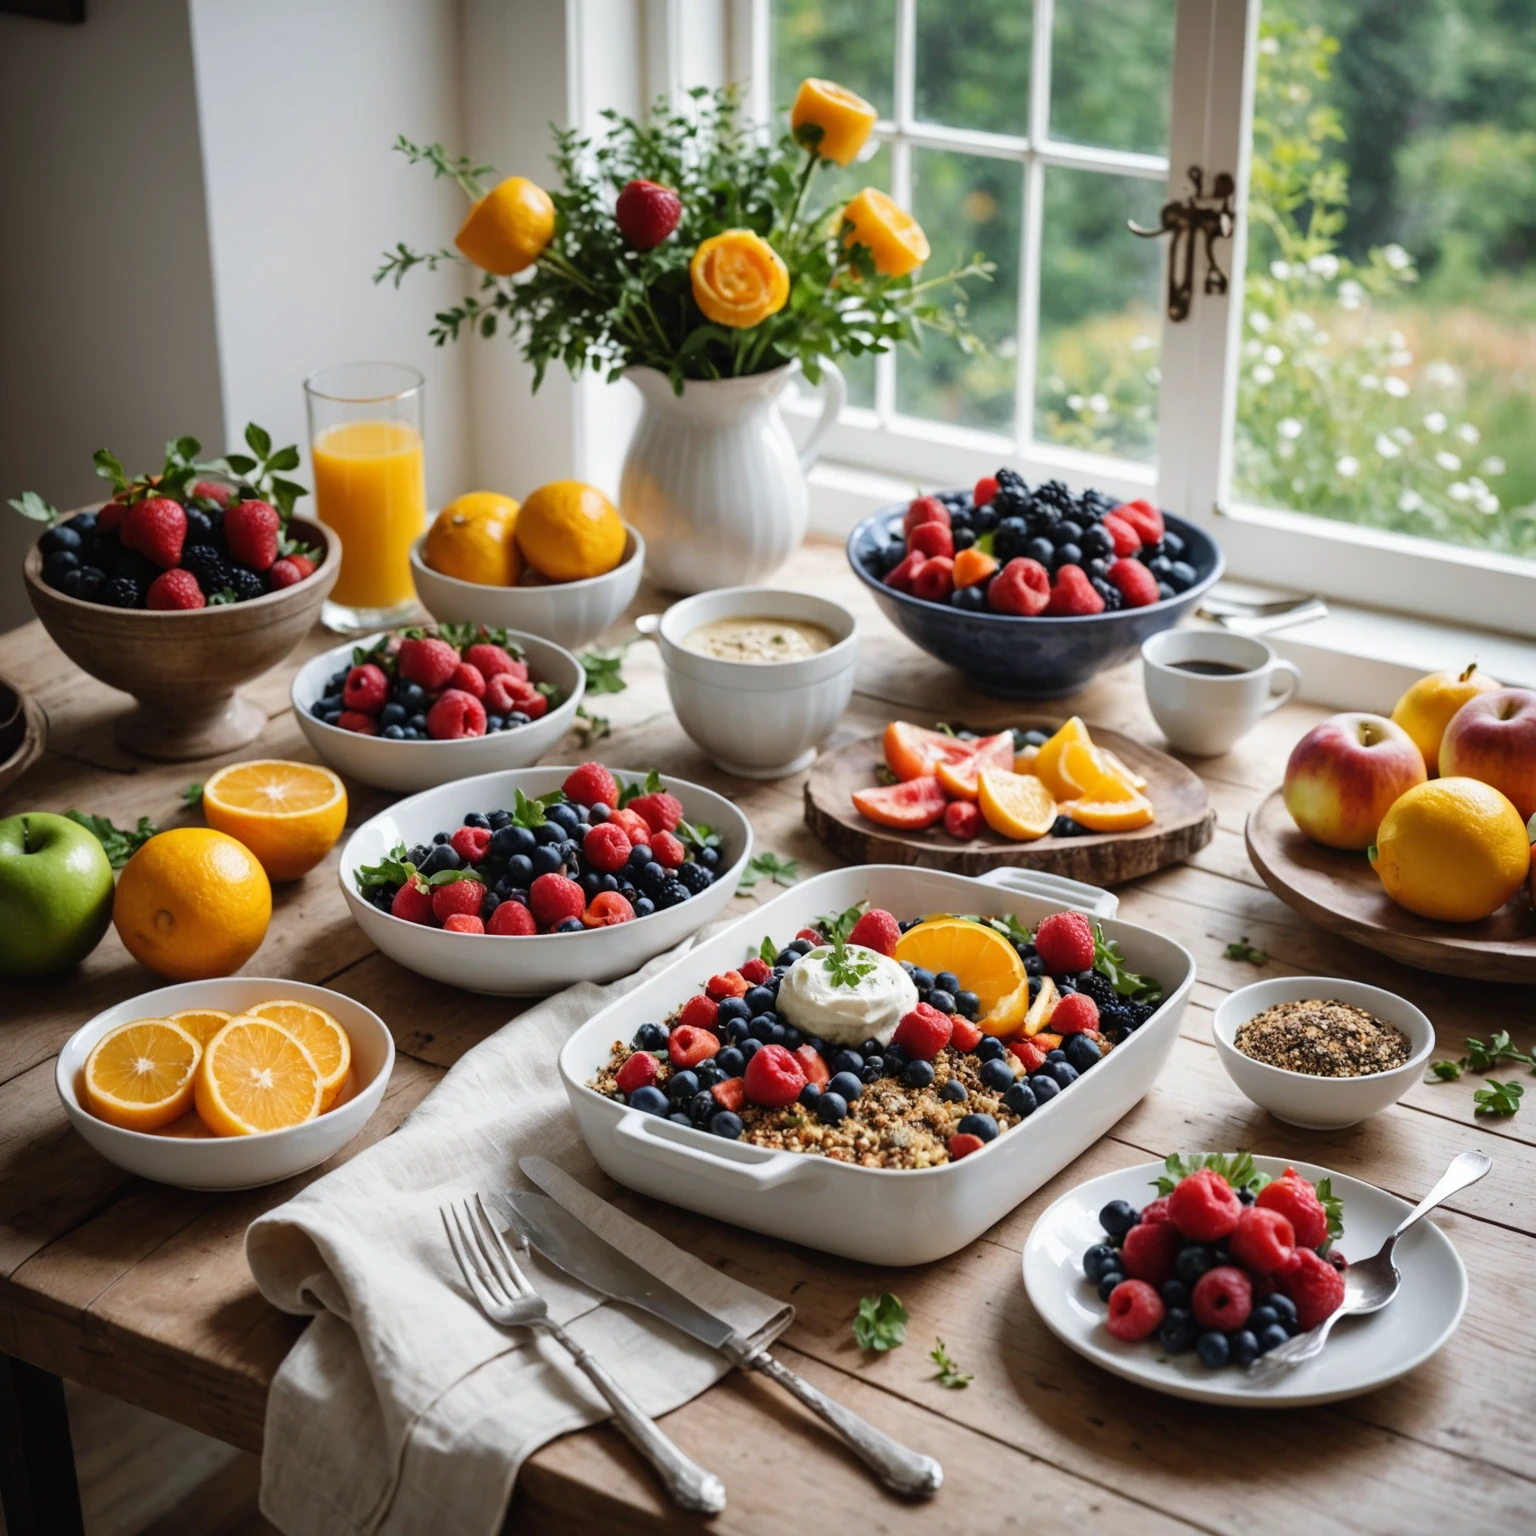
FreeFlourish gluten-free chickpea quinoa breakfast bars ingredients

Instructions

  1. Preheat your oven to 350 degrees F. Line an 8-inch square baking pan with parchment paper, leaving some overhang for easy removal.
  2. In a food processor, combine the cooked quinoa and chickpeas. Pulse until the mixture is roughly combined but still has some texture-avoid pureeing into a paste.
  3. Add the almond butter, maple syrup, vanilla extract, cinnamon, and salt to the food processor. Pulse a few more times until well incorporated and sticky.
  4. Transfer the mixture into a large mixing bowl. Stir in the gluten-free oats, shredded coconut, ground flaxseed, chia seeds (if using), and chocolate chips (if using). Mix thoroughly to combine.
  5. Press the mixture evenly into the prepared baking pan, pressing firmly to pack the bars tightly.
  6. Bake for 20-25 minutes until the edges are golden and the bars feel set to the touch.
  7. Remove from the oven and let cool completely in the pan on a wire rack, about 30 minutes.
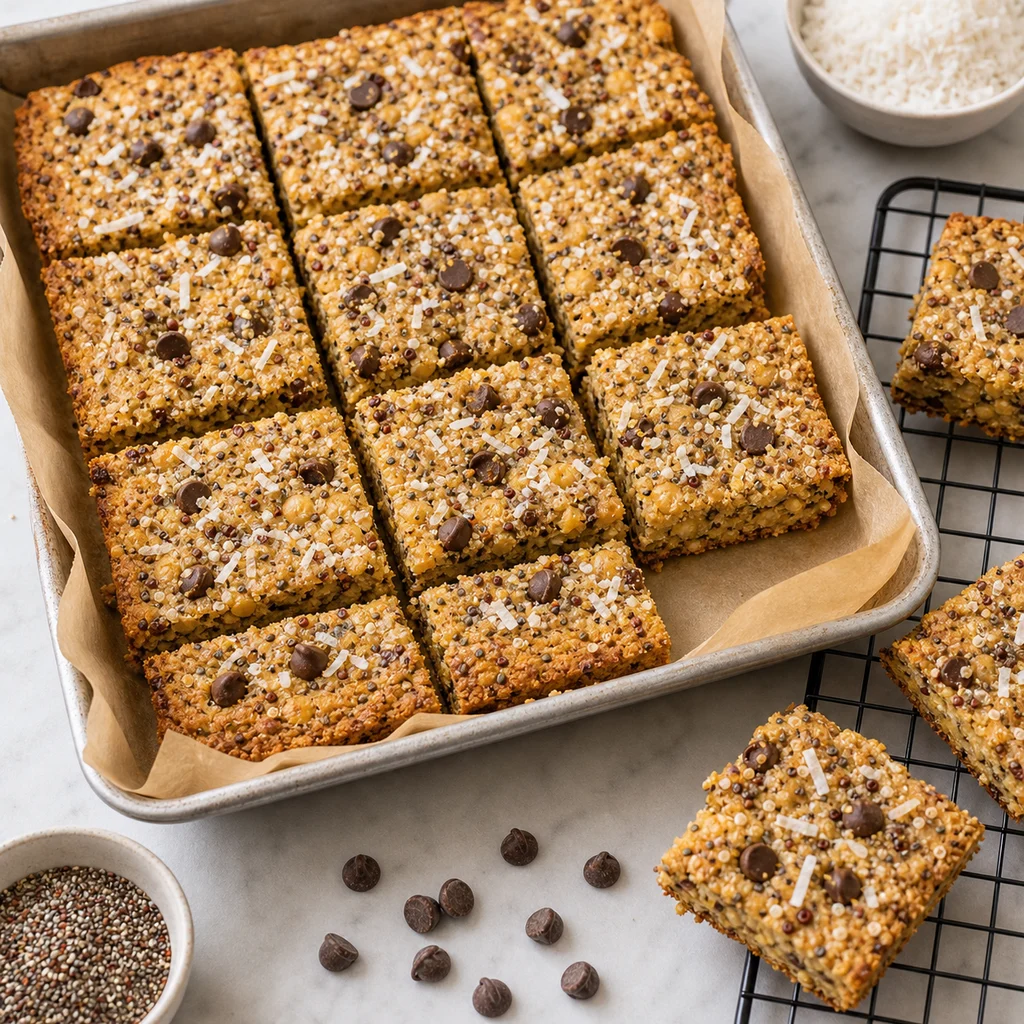
  8. Once cooled, use the parchment paper overhang to lift the bars out of the pan. Cut into 12 equal-sized bars.
  9. Store bars in an airtight container at room temperature for up to 3 days, or freeze for up to 3 months for convenient meal prep.
FreeFlourish chickpea quinoa breakfast bars finished dish

Tips

Allergen Overlap Note

Check every packaged ingredient for certified gluten-free status, especially spices, broths, sauces, seed products, and baking staples. Use clean prep surfaces, dedicated utensils, and fresh parchment or cookware when preparing chickpea quinoa breakfast bars for someone with celiac disease.

Texture Expectations

The bars should be firm enough to hold but still moist from the chickpeas and nut or seed butter. Cool them completely before slicing so the gluten-free structure sets cleanly.

Dining With Non-GF Family Note

Pack the bars in a clearly labeled gluten-free container for breakfasts and snacks. If using the nut-free version, label the sunflower seed butter batch separately for school or shared-family use.

Frequently Asked Questions

Can I make Gluten-Free High-Protein Chickpea and Quinoa Breakfast Bars ahead?
Yes. Prepare the components ahead when practical, then store and reheat according to the storage guidance so the texture stays close to fresh.
How do I keep this recipe gluten-free?
Use certified gluten-free packaged ingredients and avoid shared utensils, boards, pans, or toppings that touched gluten-containing foods.
Can I adjust the main ingredients?
Yes. Use the ingredient replacement notes to choose swaps with similar moisture, protein, or cooking behavior.
What is the best way to serve it with mixed-diet family?
Serve the gluten-free recipe first with dedicated utensils, then keep any gluten-containing sides or toppings separate.

Ingredient Replacements

  • main vegetable: Use a certified gluten-free equivalent and choose a similar ingredient with matching moisture, texture, or cooking time. Check labels for shared-facility warnings when cooking for celiac disease or multiple allergies.
  • protein: Use a certified gluten-free equivalent and choose a similar ingredient with matching moisture, texture, or cooking time. Check labels for shared-facility warnings when cooking for celiac disease or multiple allergies.
  • seasoning: Use a certified gluten-free equivalent and choose a similar ingredient with matching moisture, texture, or cooking time. Check labels for shared-facility warnings when cooking for celiac disease or multiple allergies.
  • cooking fat: Use a certified gluten-free equivalent and choose a similar ingredient with matching moisture, texture, or cooking time. Check labels for shared-facility warnings when cooking for celiac disease or multiple allergies.
  • garnish: Use a certified gluten-free equivalent and choose a similar ingredient with matching moisture, texture, or cooking time. Check labels for shared-facility warnings when cooking for celiac disease or multiple allergies.

Storage and Reheating

Store cooled bars airtight at room temperature for up to 3 days or refrigerate for up to 1 week. Freeze individually wrapped bars for up to 3 months and thaw overnight or at room temperature.

Related Articles

Read related air fryer guides and cooking tips.

More Recipes

Explore more recipes you may like.

Reviews

Rate this recipe and share a photo of your result.

No reviews yet.

Newsletter

Stay In The Loop

Get fresh recipes, articles, and updates from Freeflourish.