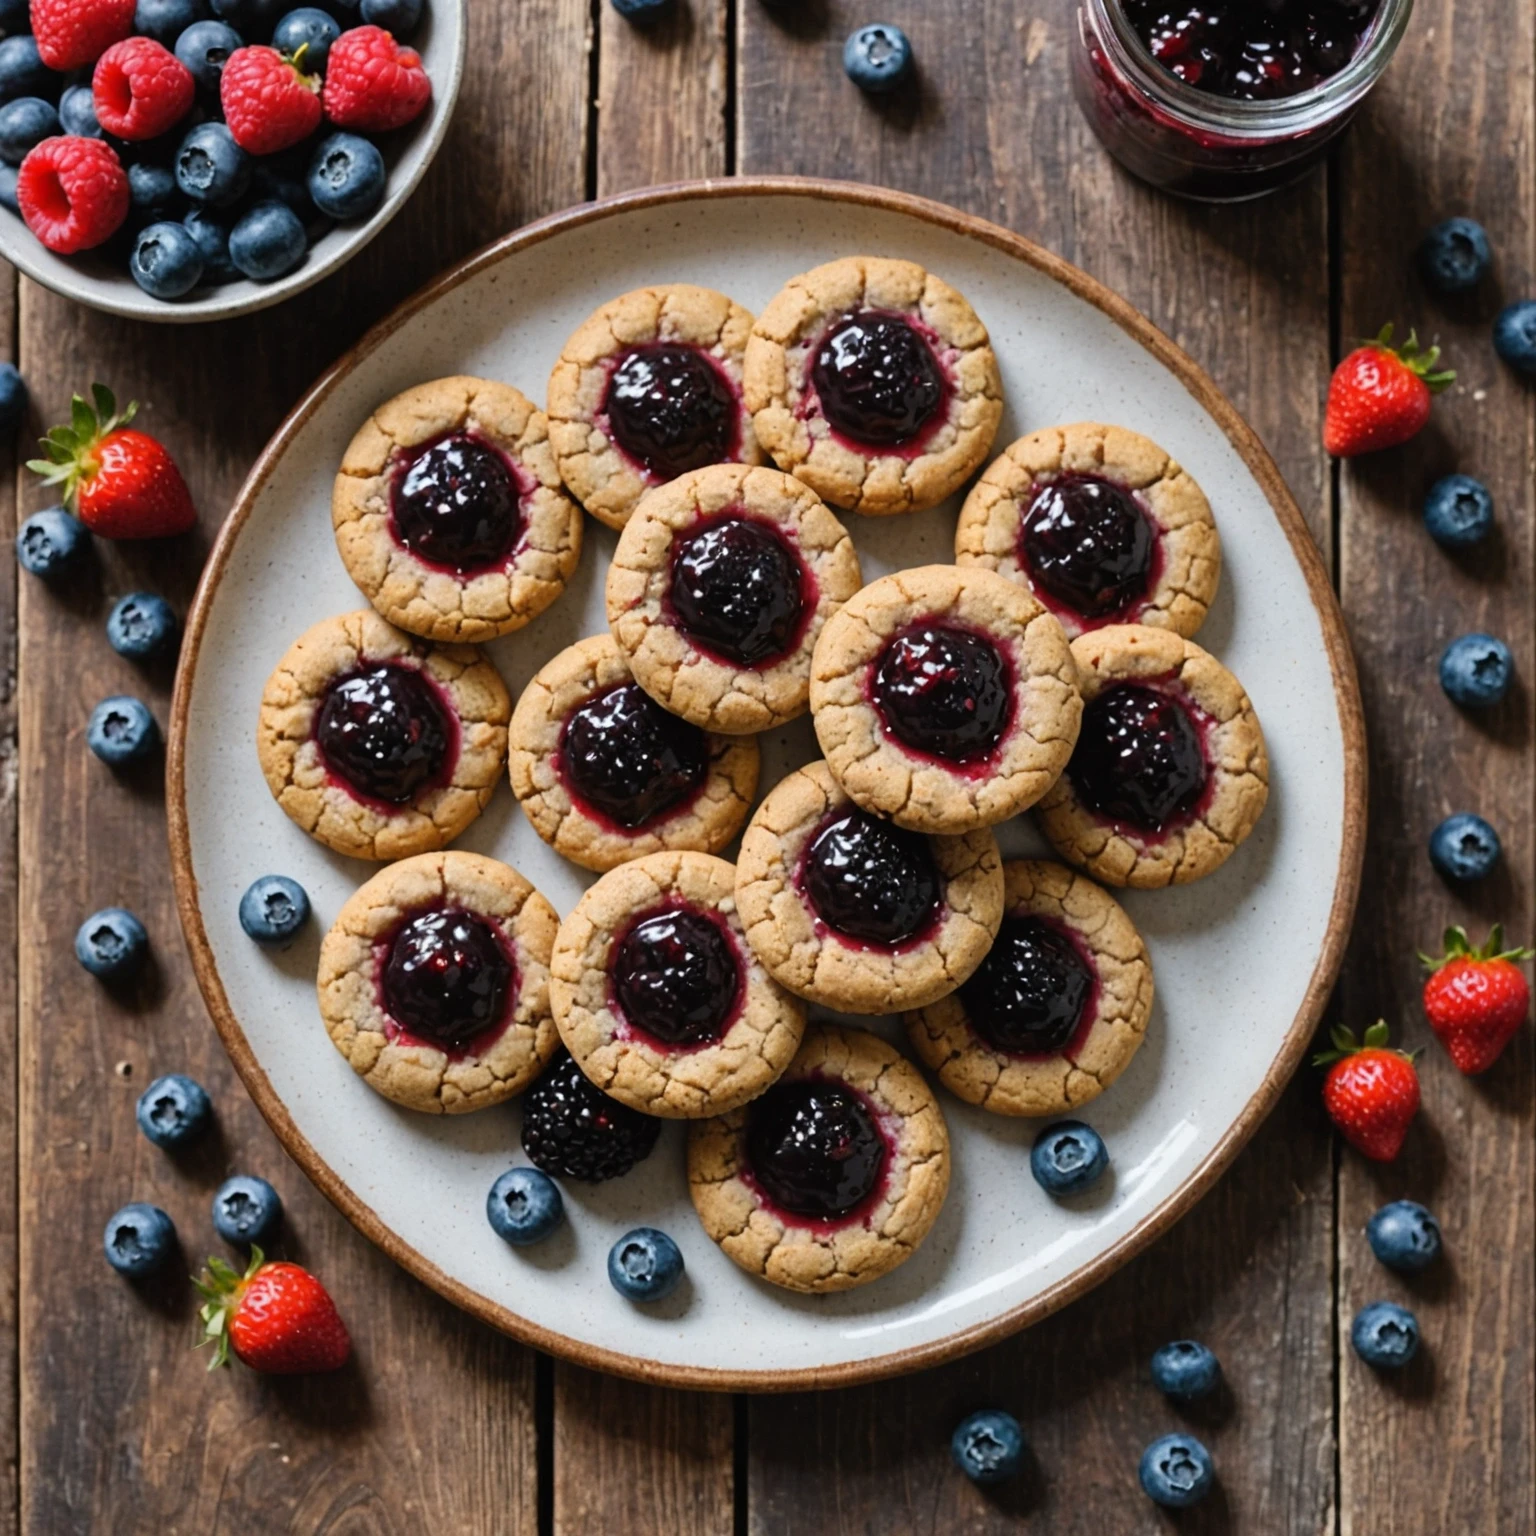
Gluten-Free Berry Chia Jam Thumbprint Cookies with measured ingredients, 32-minute timing, 24-serving yield, and step-by-step instructions for gluten-free meals, baking, snacks, and desserts.
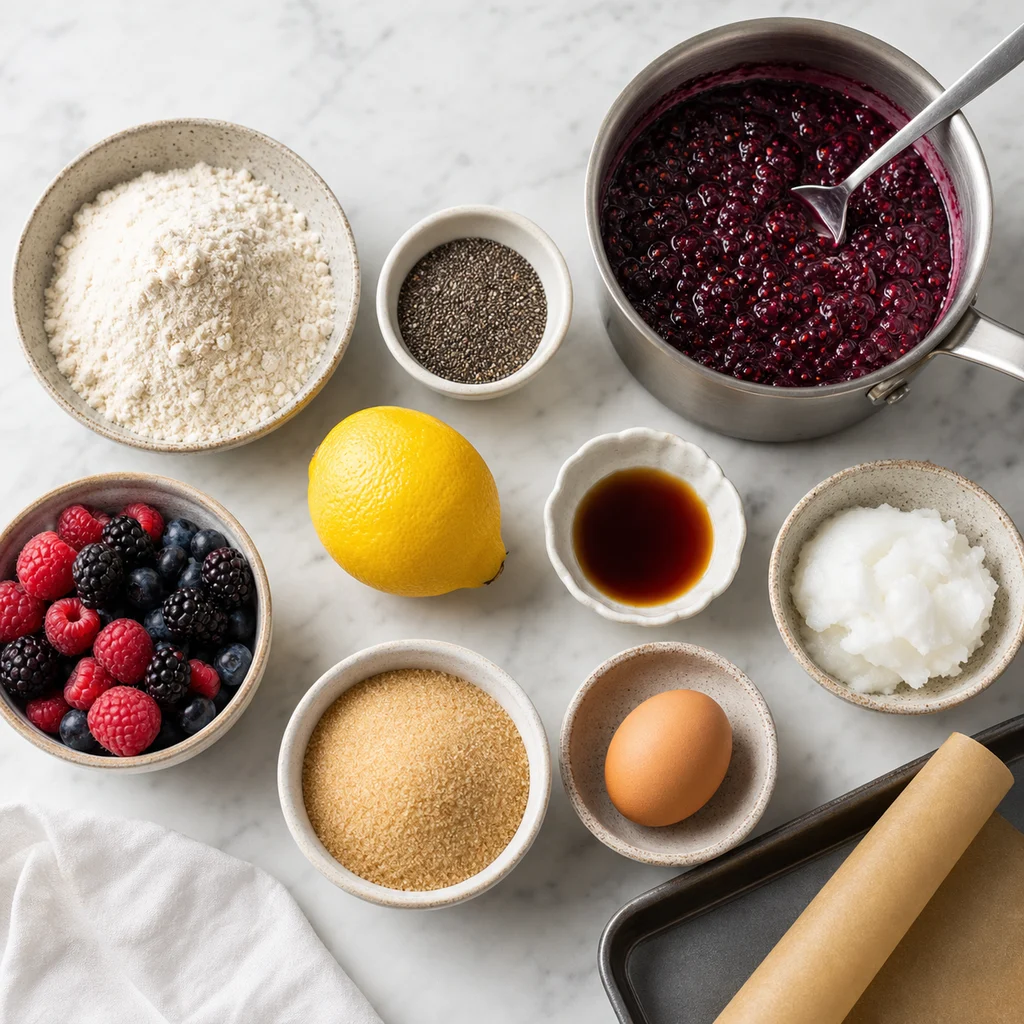
1 cup mixed berries (fresh or frozen; blueberries, raspberries, and strawberries recommended)
2 tablespoons chia seeds
2 tablespoons pure maple syrup or honey
1 tablespoon fresh lemon juice
FreeFlourish gluten-free thumbprint cookie ingredients with berry chia jam
Instructions
Preheat oven to 350 degrees F. Line two baking sheets with parchment paper.
In a medium bowl, whisk together gluten-free flour blend, baking powder, and salt; set aside.
In a large bowl, beat coconut oil and sugar using an electric mixer until creamy and smooth.
Add egg and vanilla extract to the coconut oil mixture and beat until fully combined.
Gradually mix dry ingredients into wet ingredients until just incorporated; dough will be slightly sticky.
Wrap dough in plastic wrap and refrigerate for 20 minutes to firm up for easier shaping.
Meanwhile, prepare the berry chia jam: In a small saucepan, combine mixed berries, chia seeds, maple syrup (or honey), and lemon juice.
Cook over medium heat, stirring frequently, until berries break down and mixture thickens to a jam-like consistency (about 8 to 10 minutes). Remove from heat and cool to room temperature.
Shape chilled dough into 1-inch balls and place 2 inches apart on baking sheets.
Use your thumb or back of a small spoon to make an indentation in the center of each dough ball, without piercing through the bottom.
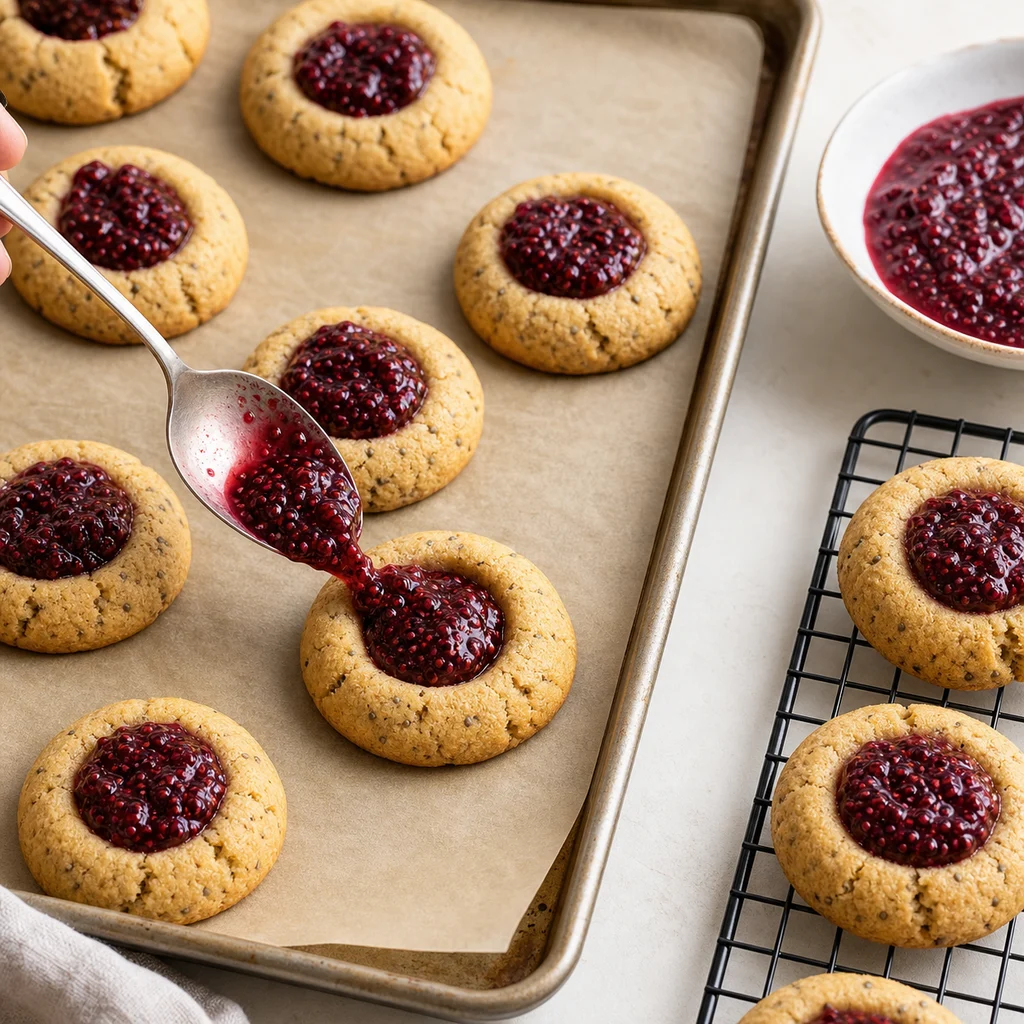
Fill each indentation with about 1/2 teaspoon of cooled berry chia jam.
Bake for 10 to 12 minutes until edges are lightly golden and cookies are set.
Let cookies cool on baking sheet 5 minutes before transferring to a wire rack to cool completely.
Store completely cooled cookies in an airtight container at room temperature for up to 4 days, or freeze for up to 3 months. Thaw frozen cookies before serving.
FreeFlourish gluten-free berry chia jam thumbprint cookies being filled
Tips
Allergen Overlap Note
Use a certified gluten-free flour blend, baking powder, vanilla, and chia seeds because shared processing lines can be an issue for celiac-safe baking. If your kitchen also handles wheat flour, wipe the counter well and use clean parchment, a clean mixer, and a separate cooling rack before shaping the dough.
Texture Expectations
These cookies should bake up tender and softly chewy, with lightly golden edges and a jam center that sets as it cools. Gluten-free dough is more delicate when warm, so let the cookies rest on the baking sheet for 5 minutes before moving them to the rack.
Dining With Non-GF Family Note
Serve these cookies on a clearly marked gluten-free platter with separate tongs so crumbs from regular cookies do not transfer. They are familiar enough for mixed-diet family snacking, and you can keep any non-gluten-free desserts on a separate tray.
Storage and Reheating
Cool the thumbprint cookies completely before storing so the berry chia centers finish setting. Keep them in an airtight container at room temperature for up to 4 days, with parchment between layers if stacking.
Freeze the cooled cookies in a single layer until firm, then transfer them to a freezer-safe container for up to 3 months. Thaw at room temperature; if you want a just-baked feel, warm them briefly in a 300°F oven for 3 to 5 minutes.

 Freeflourish