Freeflourish

Dinner

Gluten-Free Easy Stuffed Bell Peppers with Cashew Herb Sauce

By Freeflourish Editorial TeamPublished Apr 20, 2026 | Updated Jul 7, 2026
American-inspired 60 mins glutenfreedairyfreefamilyfriendlyeasymaincourselowcarbcomfortfoodappetizer

Gluten-Free Easy Stuffed Bell Peppers with Cashew Herb Sauce with measured ingredients, 60-minute timing, 4-serving yield, and step-by-step instructions for gluten-free meals, baking, snacks, and desserts.
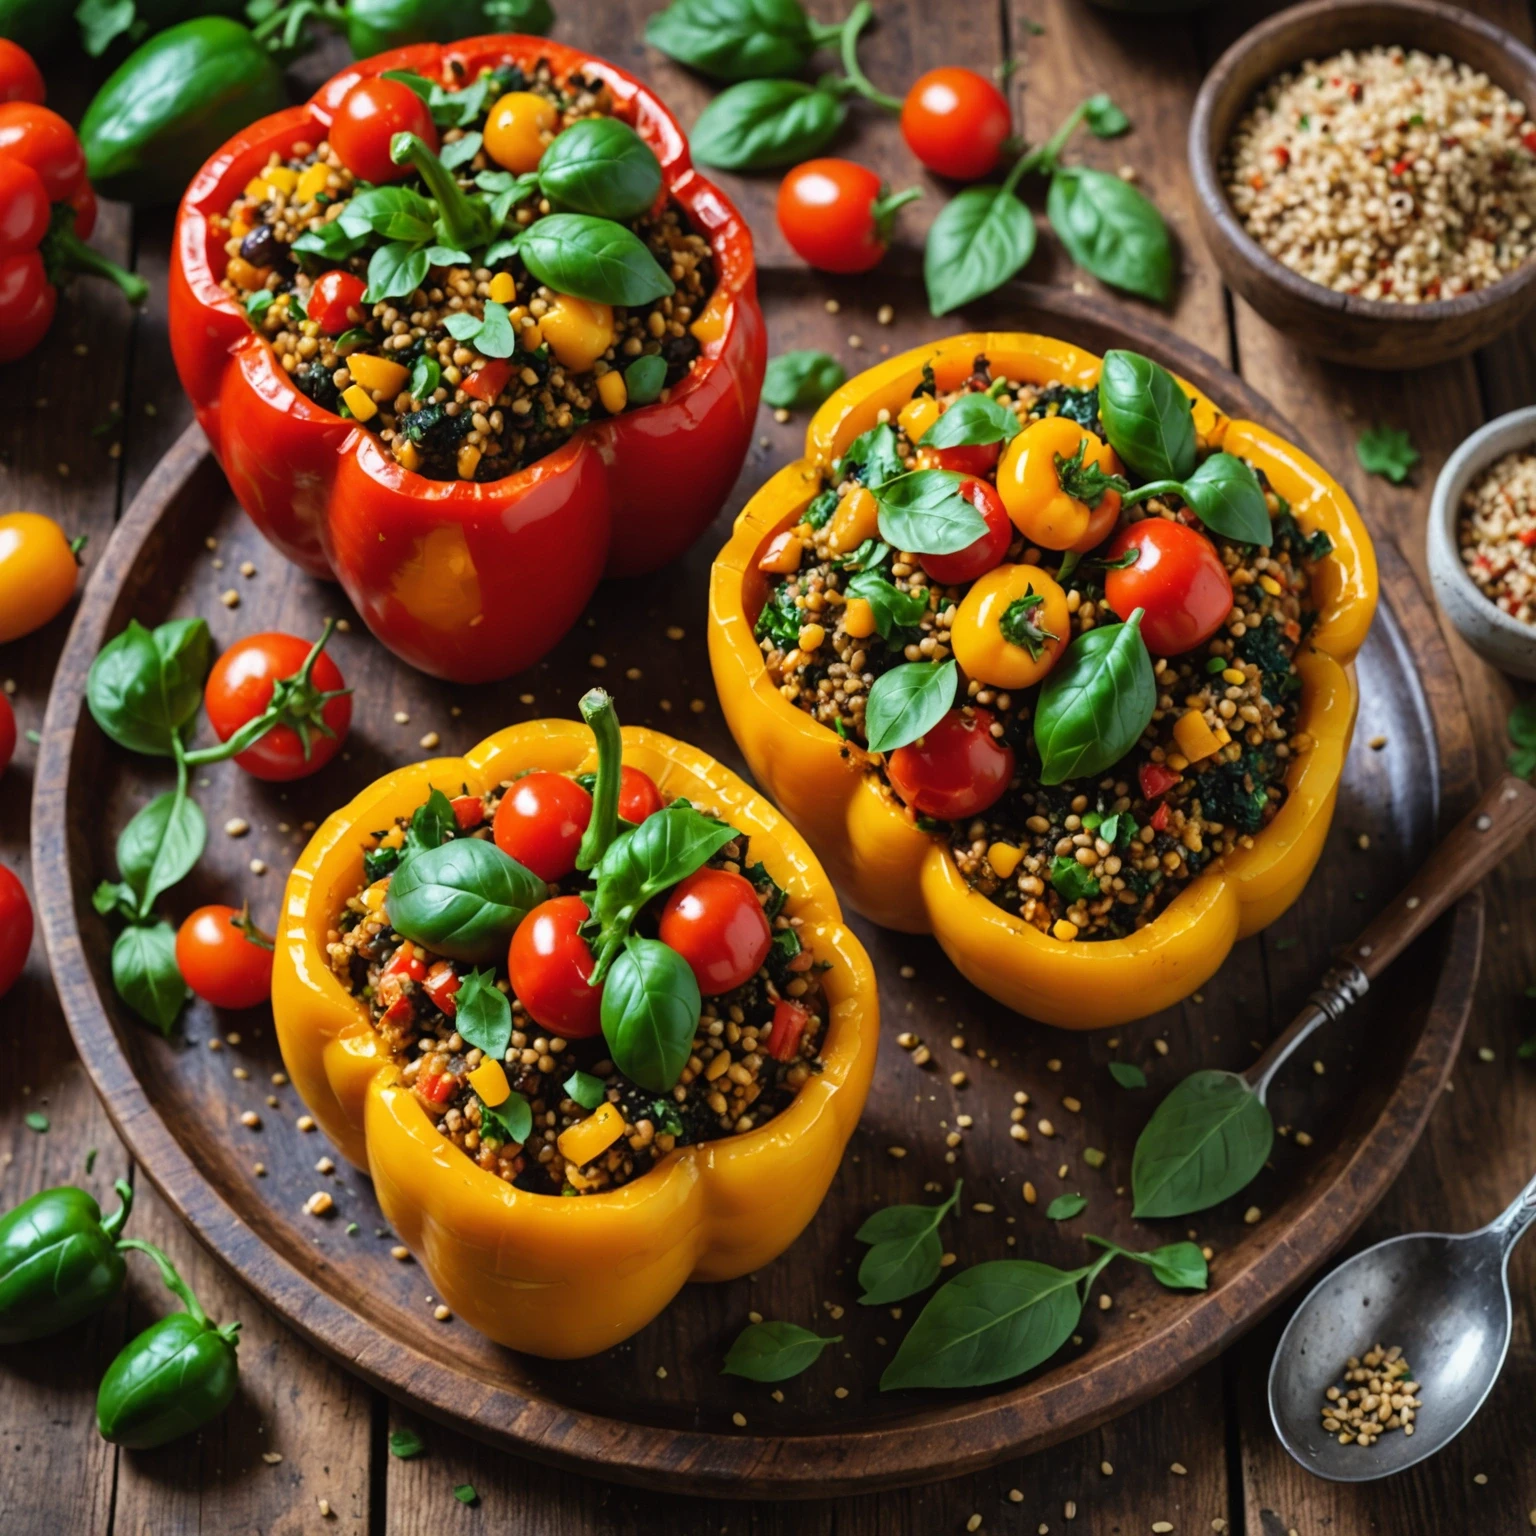
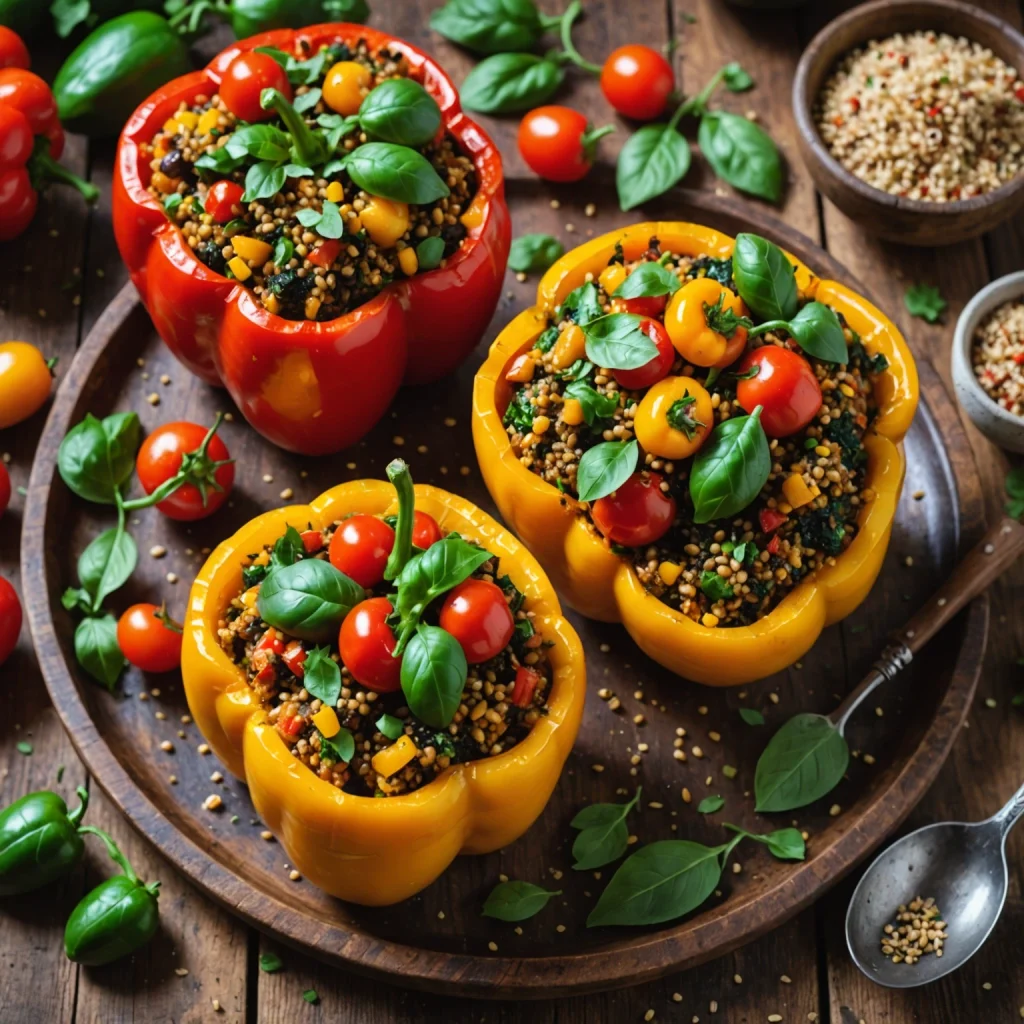
Gluten-Free Easy Stuffed Bell Peppers with Cashew Herb Sauce
Prep 20 min
Cook 40 min
Total 60 min
Servings 4
Difficulty easy
Cuisine American-inspired

Recipe Details

Prep20 min
Cook40 min
Total60 min
Servings4
Difficultyeasy
CuisineAmerican-inspired
Add To Favorites

Ingredients

Servings 4
  • 4 large bell peppers (any color, tops cut off and seeds removed)
  • 1 cup quinoa, rinsed
  • 2 cups vegetable broth or water
  • 1 small onion, finely chopped
  • 2 cloves garlic, minced
  • 1 medium zucchini, diced
  • 1 cup mushrooms, diced
  • 1 cup cherry tomatoes, halved
  • 1 cup fresh spinach, chopped
  • 2 tablespoons olive oil, divided
  • 1 teaspoon smoked paprika
  • 1/2 teaspoon ground cumin
  • Salt and freshly ground black pepper, to taste
  • 1/4 cup fresh parsley, chopped (for stuffing)
  • 1/4 cup fresh basil, chopped (for stuffing)
  • 1 cup raw cashews (soaked in warm water for 2+ hours or boiled 15 minutes)
  • 1/3 cup water (adjust for desired creaminess)
  • 2 tablespoons fresh lemon juice
  • 1 garlic clove
  • 1/4 cup fresh parsley
  • 1/4 cup fresh basil
  • 1/4 teaspoon salt
  • Freshly ground black pepper, to taste
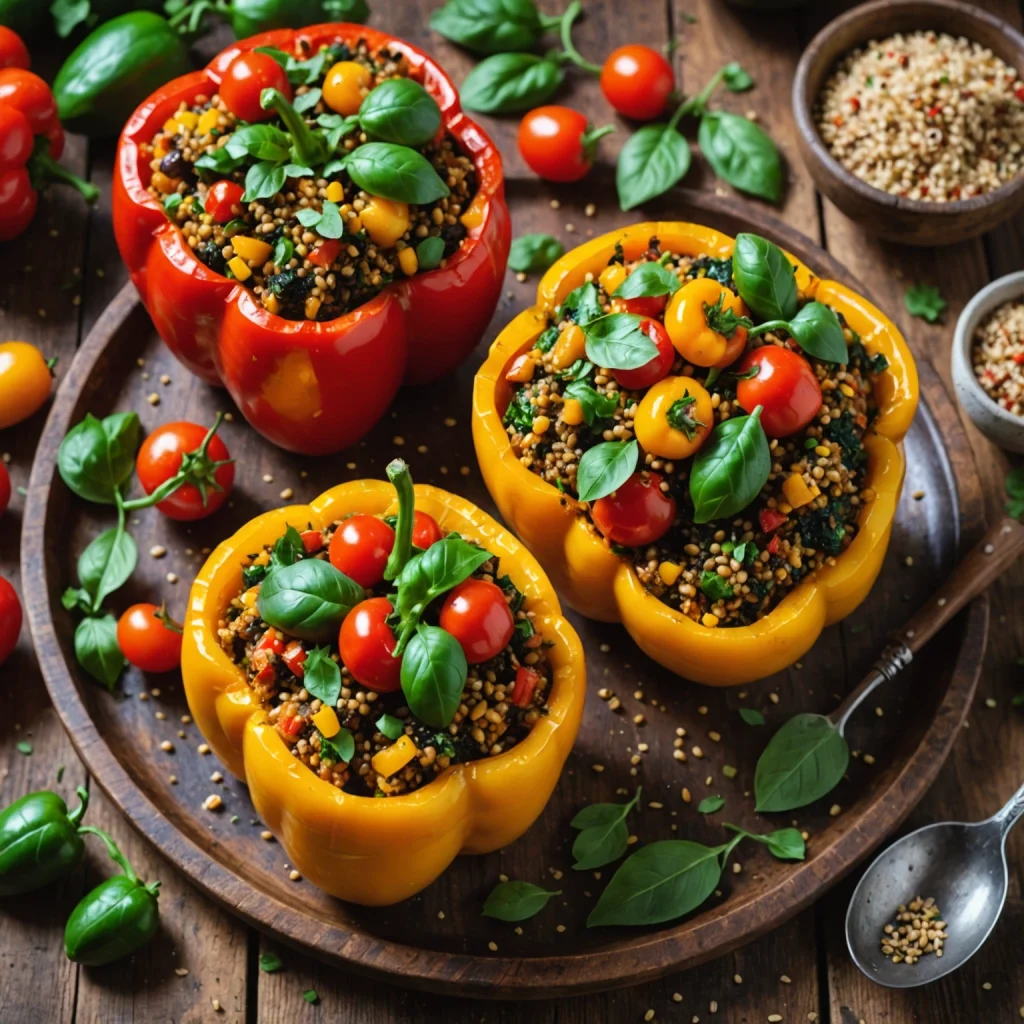
FreeFlourish gluten-free vegan stuffed bell peppers with cashew herb sauce ingredients

Instructions

  1. Preheat the oven to 375 degrees F. Lightly grease a baking dish large enough to hold the bell peppers upright.
  2. Place the hollowed bell peppers cut side up in the prepared baking dish.
  3. In a medium saucepan, bring the vegetable broth (or water) to a boil. Add quinoa, reduce heat to low, cover, and simmer for 15 minutes or until the quinoa is fluffy and the liquid is absorbed. Remove from heat and fluff with a fork.
  4. While the quinoa cooks, heat 1 tablespoon olive oil in a large skillet over medium heat. Add chopped onion and minced garlic; sauté for 3-4 minutes until translucent and fragrant.
  5. Add diced zucchini, mushrooms, and cherry tomatoes to the skillet. Cook for about 7-8 minutes, stirring occasionally, until vegetables are tender and tomatoes start to break down.
  6. Stir in chopped spinach, smoked paprika, cumin, salt, and pepper. Cook for another 2 minutes until the spinach wilts.
  7. Remove the skillet from heat and combine the cooked quinoa, sautéed vegetables, and fresh herbs (parsley and basil). Mix well to combine the filling evenly.
  8. Fill each bell pepper generously with the quinoa and vegetable mixture, pressing down lightly to pack.
  9. Drizzle the remaining 1 tablespoon olive oil over the stuffed peppers.
  10. Cover the baking dish loosely with foil and bake in the preheated oven for 30 minutes.
  11. While the peppers bake, prepare the cashew herb sauce: Drain soaked cashews and place them in a high-speed blender with water, lemon juice, garlic, parsley, basil, salt, and pepper.
  12. Blend until completely smooth and creamy, adding more water as needed to reach a sauce consistency.
  13. Remove the foil from the peppers and bake uncovered for an additional 5-10 minutes to allow the tops to brown slightly, if desired.
  14. Serve the stuffed bell peppers warm, topped generously with the cashew herb sauce.
  15. Garnish with additional fresh herbs if desired and enjoy your comforting, gluten-free, vegan main course!
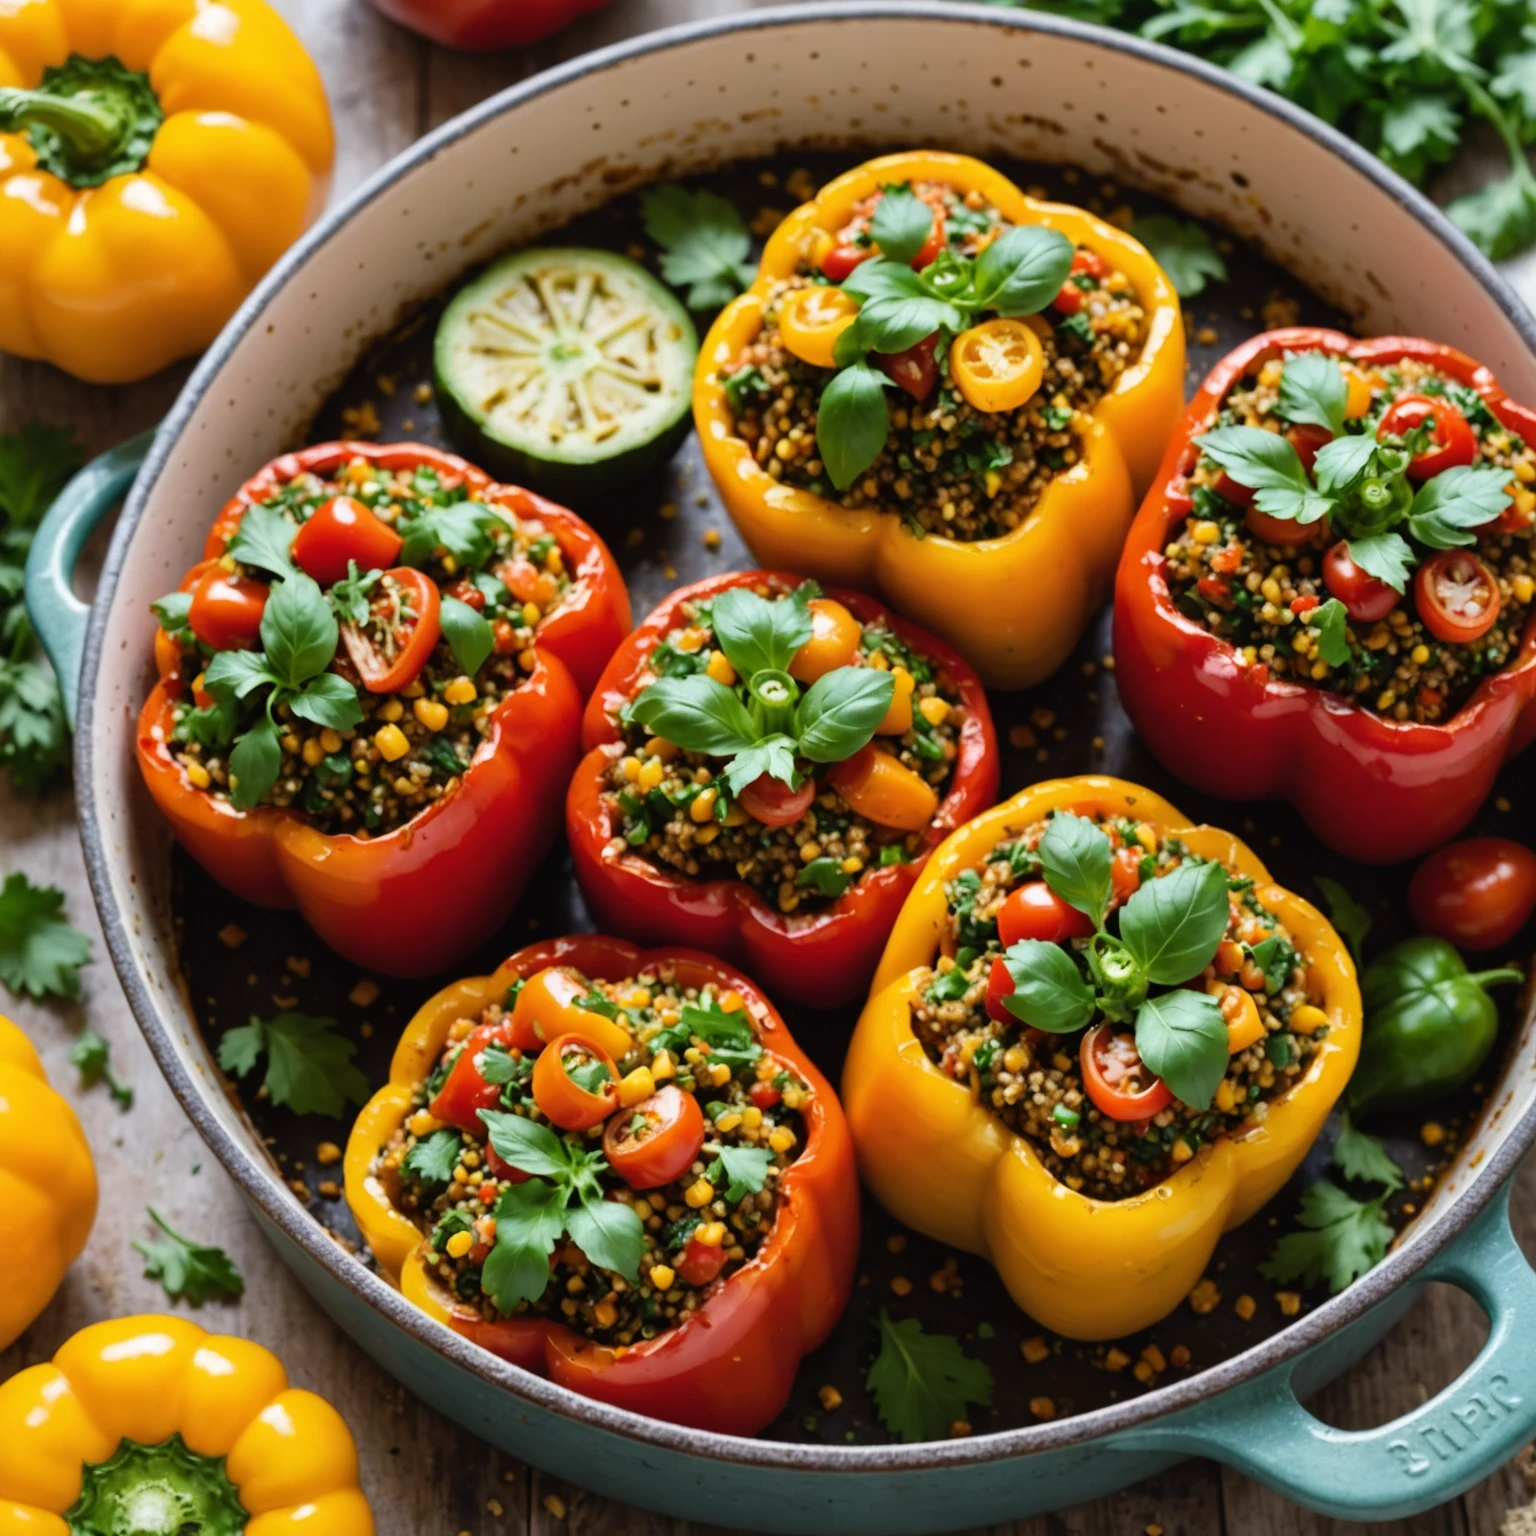
FreeFlourish vegan stuffed bell peppers with cashew herb sauce finished dish

Storage and Reheating

Store leftover stuffed peppers in airtight containers for up to 4 days. Reheat covered at 325°F until warmed through, then finish uncovered briefly.

Related Articles

Read related guides and practical cooking tips.

More Recipes

Explore more recipes you may like.

Reviews

Rate this recipe and share a photo of your result.

No reviews yet.

Newsletter

Stay In The Loop

Get fresh recipes, articles, and updates from Freeflourish.